
Fine tuning the Z-Offset
If you are experiencing the nozzle dragging (too low) or your prints are not sticking (too high), you can find the perfect height using the Fine Tune Z-Offset Wizard. Your Robo R2 will print a series of vertical lines, one at a time. Between each pass you can increase or decrease the Z-Offset value as needed. To use the wizard, follow these steps below:
Note: It is very important to make sure that the print bed is level by adjusting the thumb screws below the print bed before starting this wizard.
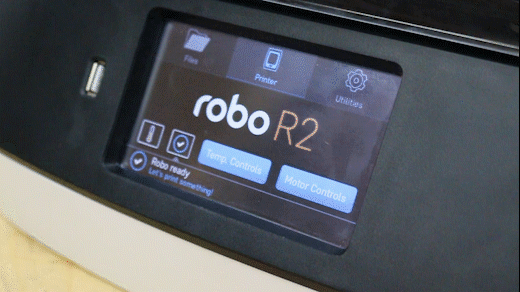
- To start, select ‘Utilities’ from the home screen, then select ‘Fine Tune Offset’. Select the material currently loaded in the printer. Then the wizard will ask you which corner you’d like to start from. This simply sets where the printer will start printing out the test lines. You can start from whichever corner you prefer.
- Once the printer homes and positions itself to begin testing, you will see a visual reference on the screen to help you know what to look for in order to find an ideal Z-Offset value.
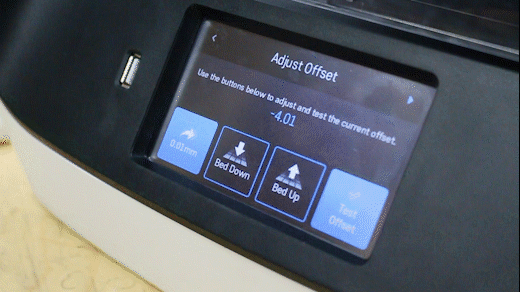
- You will come to the “Adjust Offset” screen, where you can set the adjustment increment, move the bed up or down, and test the offset. We recommend testing the offset first so you can get a visual reference to fine tune the current offset. Move the bed up and down with the provided buttons on screen, and test with the ‘test offset’ button to see if it looks satisfactory.
- When you’ve found a satisfactory Z-Offset value, press the forward arrow in the top right corner and select ‘Save’ to finish the wizard.
Comments
0 comments
Please sign in to leave a comment.