Z-Limit Switch Replacing
If your Robo R2 seems to be not homing correctly when the print bed moves all the way to the bottom of the printer, you may have a faulty z limit switch. In order to replace this switch, follow these steps:
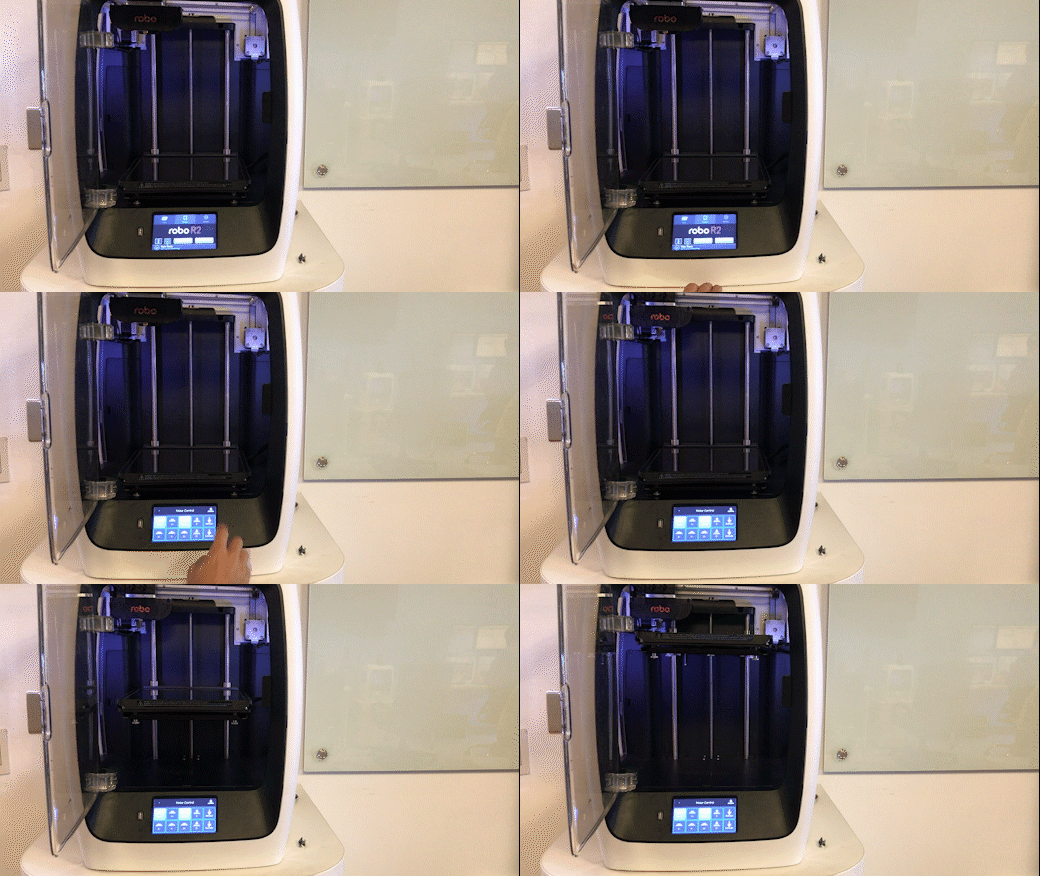
- Turn your printer on, and navigate to the motors controls from the main screen. In the top right corner, select to move the print bed to the top of the printer so you can have easier access to the z limit switch.
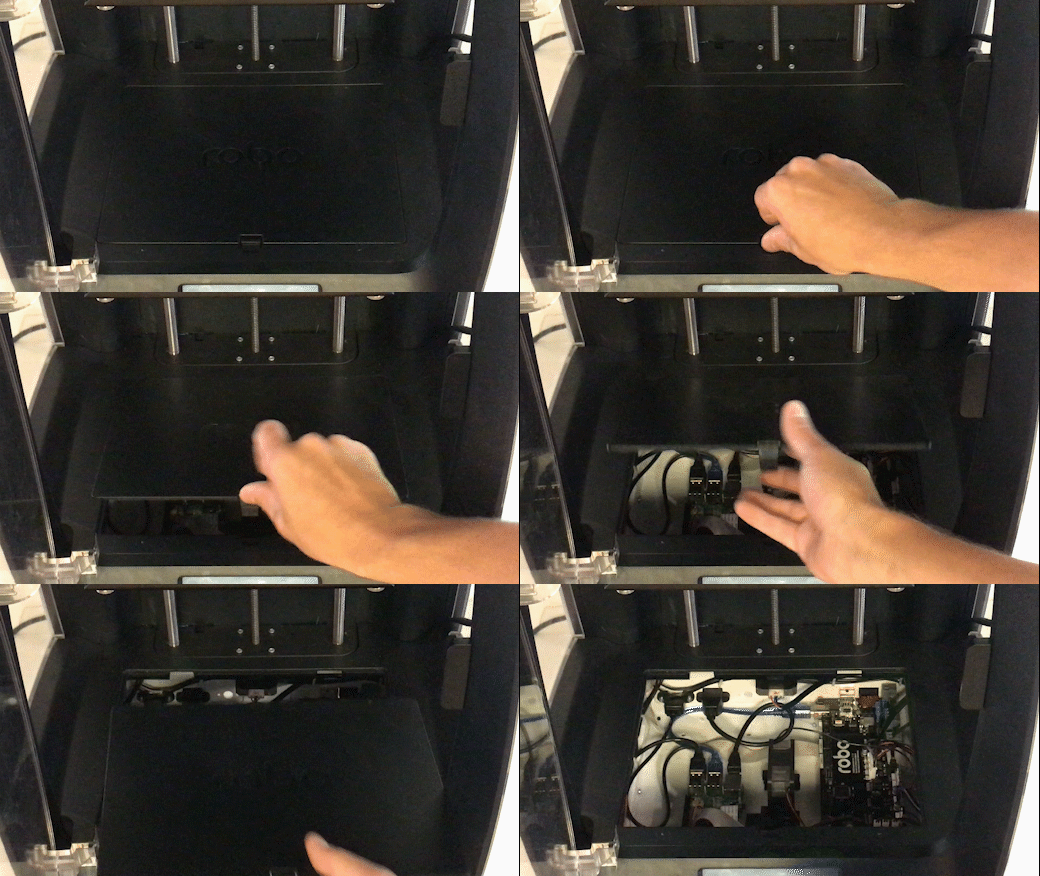
- Next, remove the internal hatch to gain access to the internal parts.
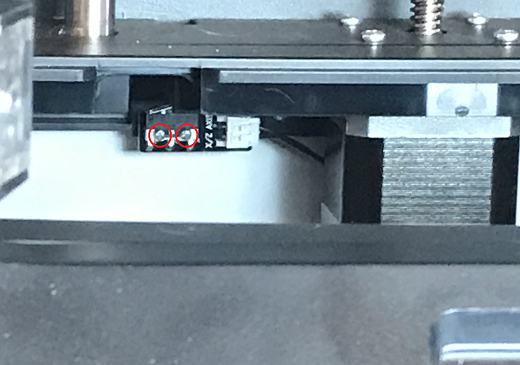
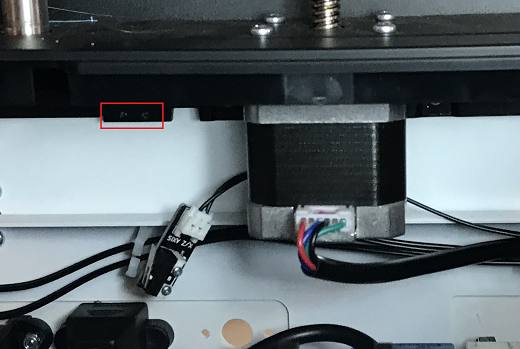
- Now, in the back of the area you just uncovered, on the middle left, you will see the z axis limit switch. Take a screwdriver and remove the two screws shown below. Be sure to keep the screws where you can easily find them.
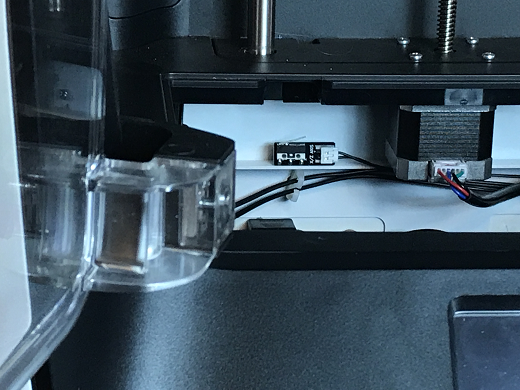
- Once you have removed the screws, the limit switch will only be connected by a plug. Carefully unplug the limit switch from its wires.
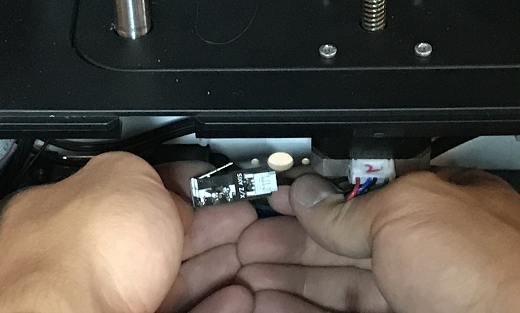
- Now, find your new z limit switch. It is easiest to start by inserting the screws into the switch before plugging in.
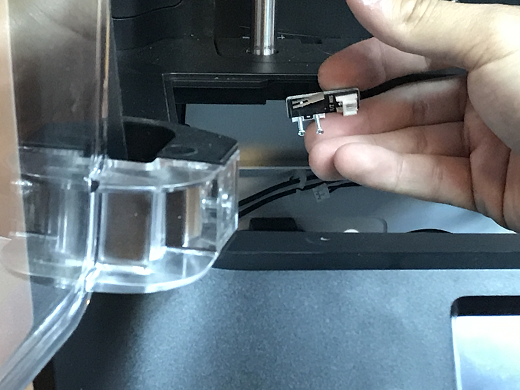
- Plug the switch into the wires, and screw back in your limit switch to the proper placement. The screw holes are shown below, as they are a little hard to find.
- You’re all set to begin printing!
Comments
0 comments
Please sign in to leave a comment.