Misaligned R1+ Z-axis
Sometimes, your z-axis alignment might skew from left to right either during shipping, movement of the product, or skipped steps on the left or right side. This guide will help you align both left and right Z-axis lead screws to make sure they are level with each other and give you the best leveling of your nozzle from side to side.
Note: Your hands may get grease on them from this. We recommend using gloves if you don't want to get dirt or grease on your fingers and hands.
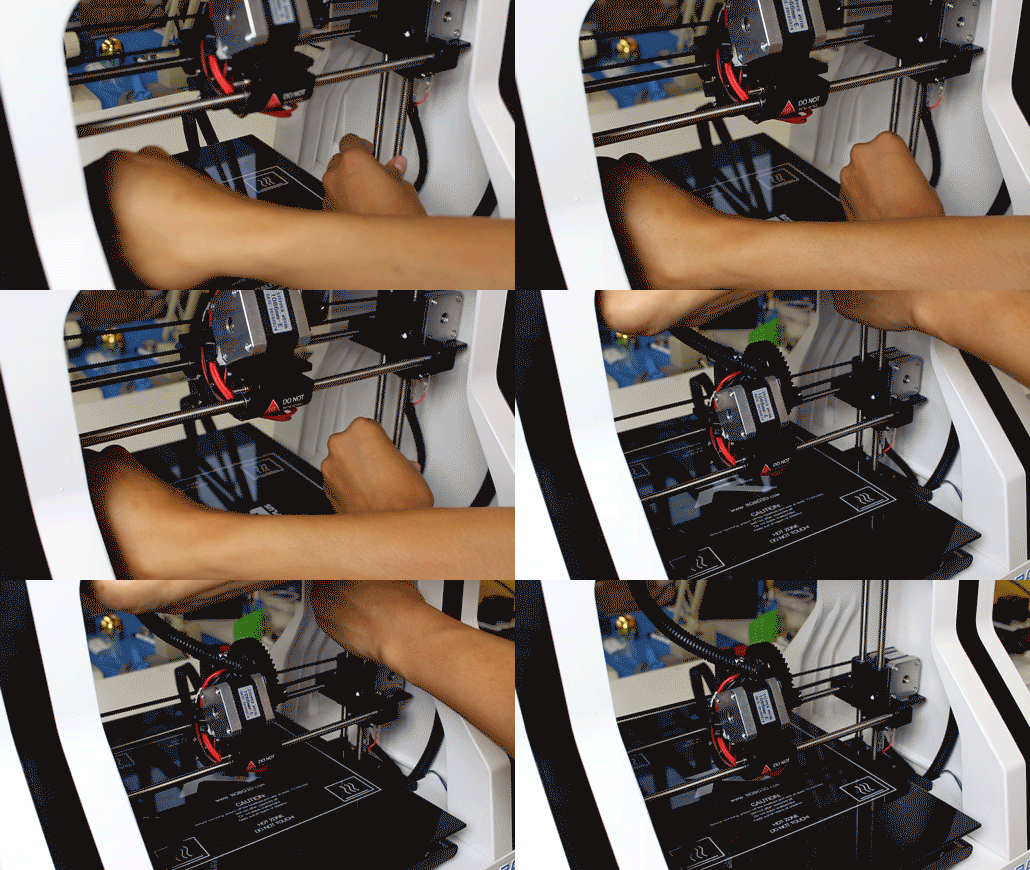
1. First, raise the extruder up so the nozzle is 10-30mm away from the build plate - either manually by twisting the rods by hand or through Matter Control.
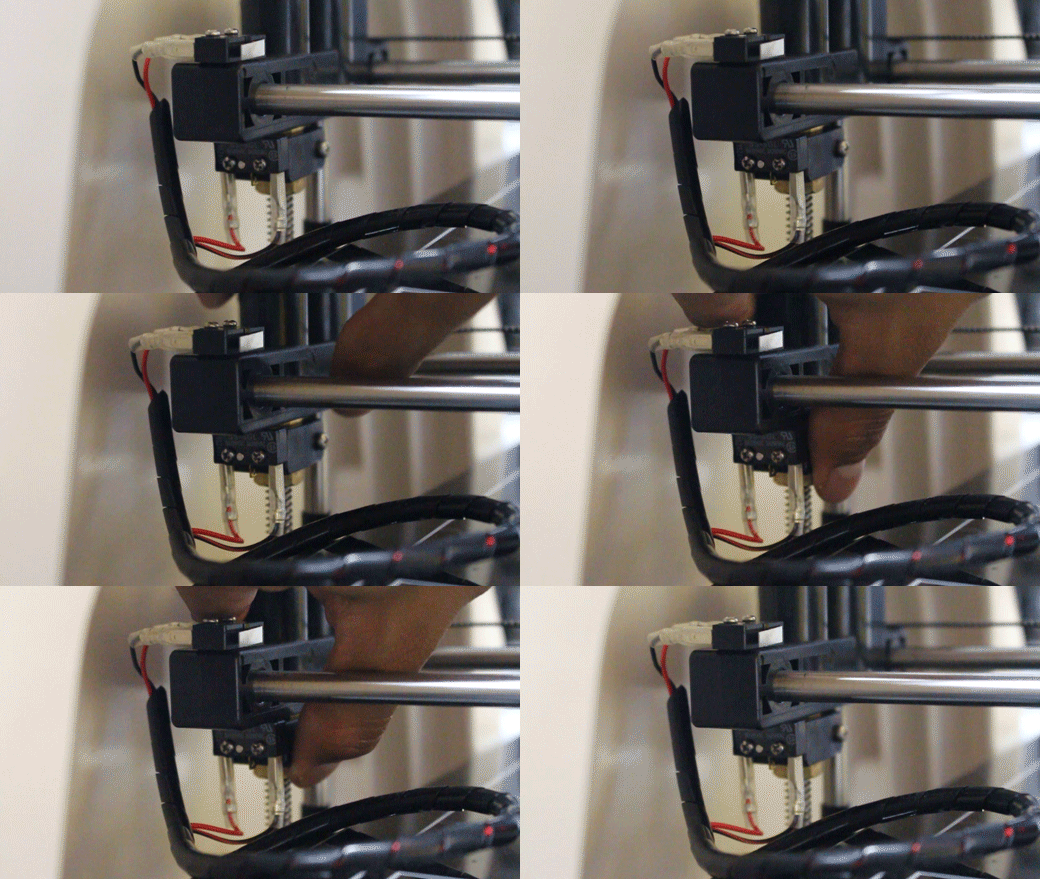
2. Make sure both end stops are properly positioned. Push the end stop and the bracket together until you hear a clicking noise. This clicking noise means that the end stop is engaged. For a more detailed guide, see Z-axis end stop fix.

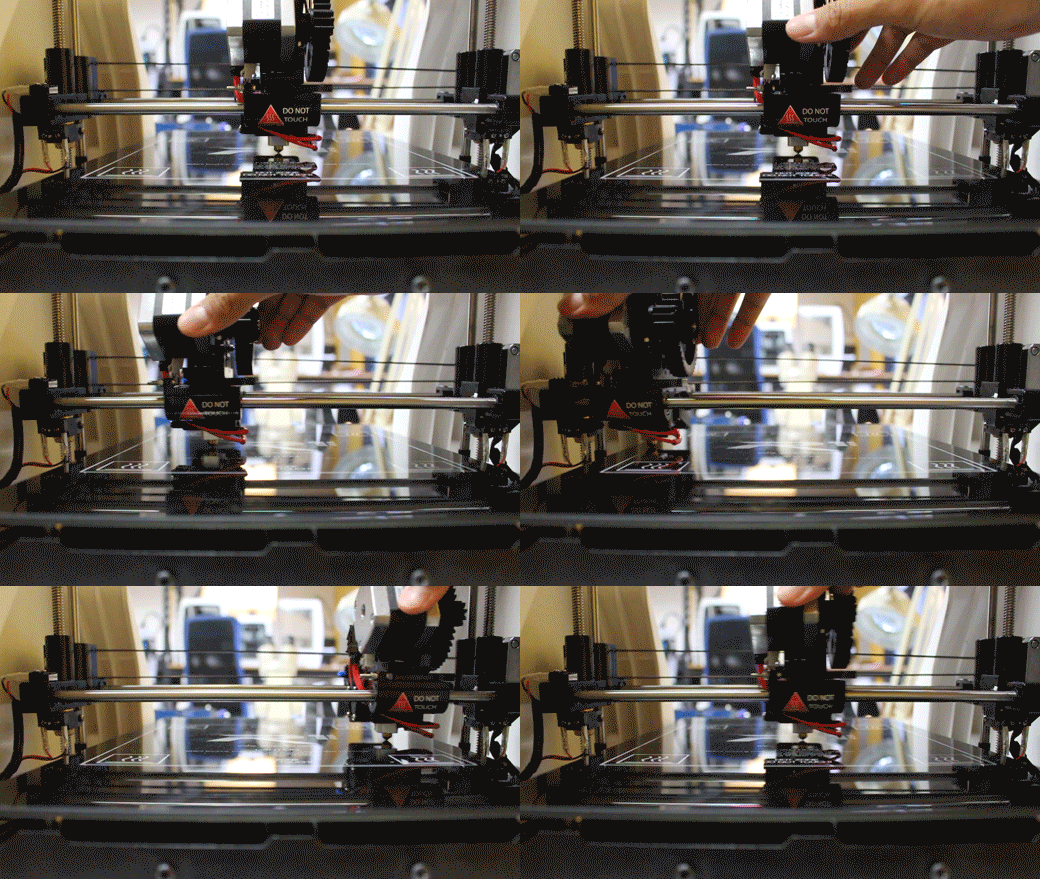
3. Now, move the extruder assembly approximately to the middle of the X-axis. Then, begin lowering the extruder down towards the bed by twisting both the left and right z-axis rods at the same time by hand.

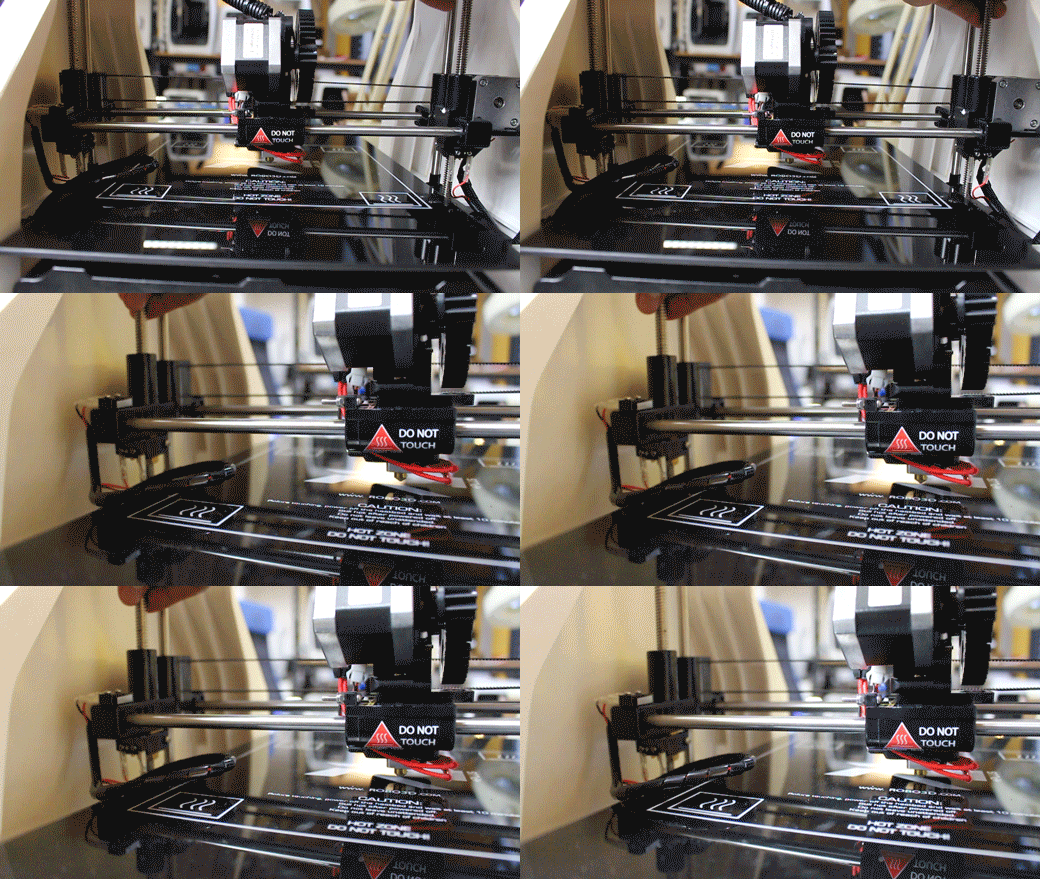
4. Lower both Z-axis lead screws until you hear a "clicking" noise from both end stops at the same time. If you hear one click before the other, stop lowering that side and slowly keep lowering the other until you hear the same "clicking" noise. Be careful of digging your extruder too far into your bed. Your bed should not warp due to this contact, if it is then you're lowering it too far and you should repeat step 3.

Next, raise both sides of the z-axis by hand to bring the nozzle of the extruder floating just above the print bed (about 1mm).
6. Move the extruder from left and right. Look at the gap between the extruder nozzle and the bed. This distance should not change. If the gap distance is changing when moving from left to right, manually adjust one z-axis lead screw by hand to align it with the other lead screw. Keep doing this until you find that both the left and right side gap distance between the extruder nozzle and the bed are equal (remember that your endstops should be seated all the way up into the brackets at this point as seen in step 2).

6. Your R1+ should now have a properly aligned Z- Axis
Comments
0 comments
Please sign in to leave a comment.