Keeping the tensioner screws on the filament latch adjusted is important to prevent extruder clogs and filament breakage. The steps below will walk you through how to adjust your tensioner screws and what they should ultimately look like.
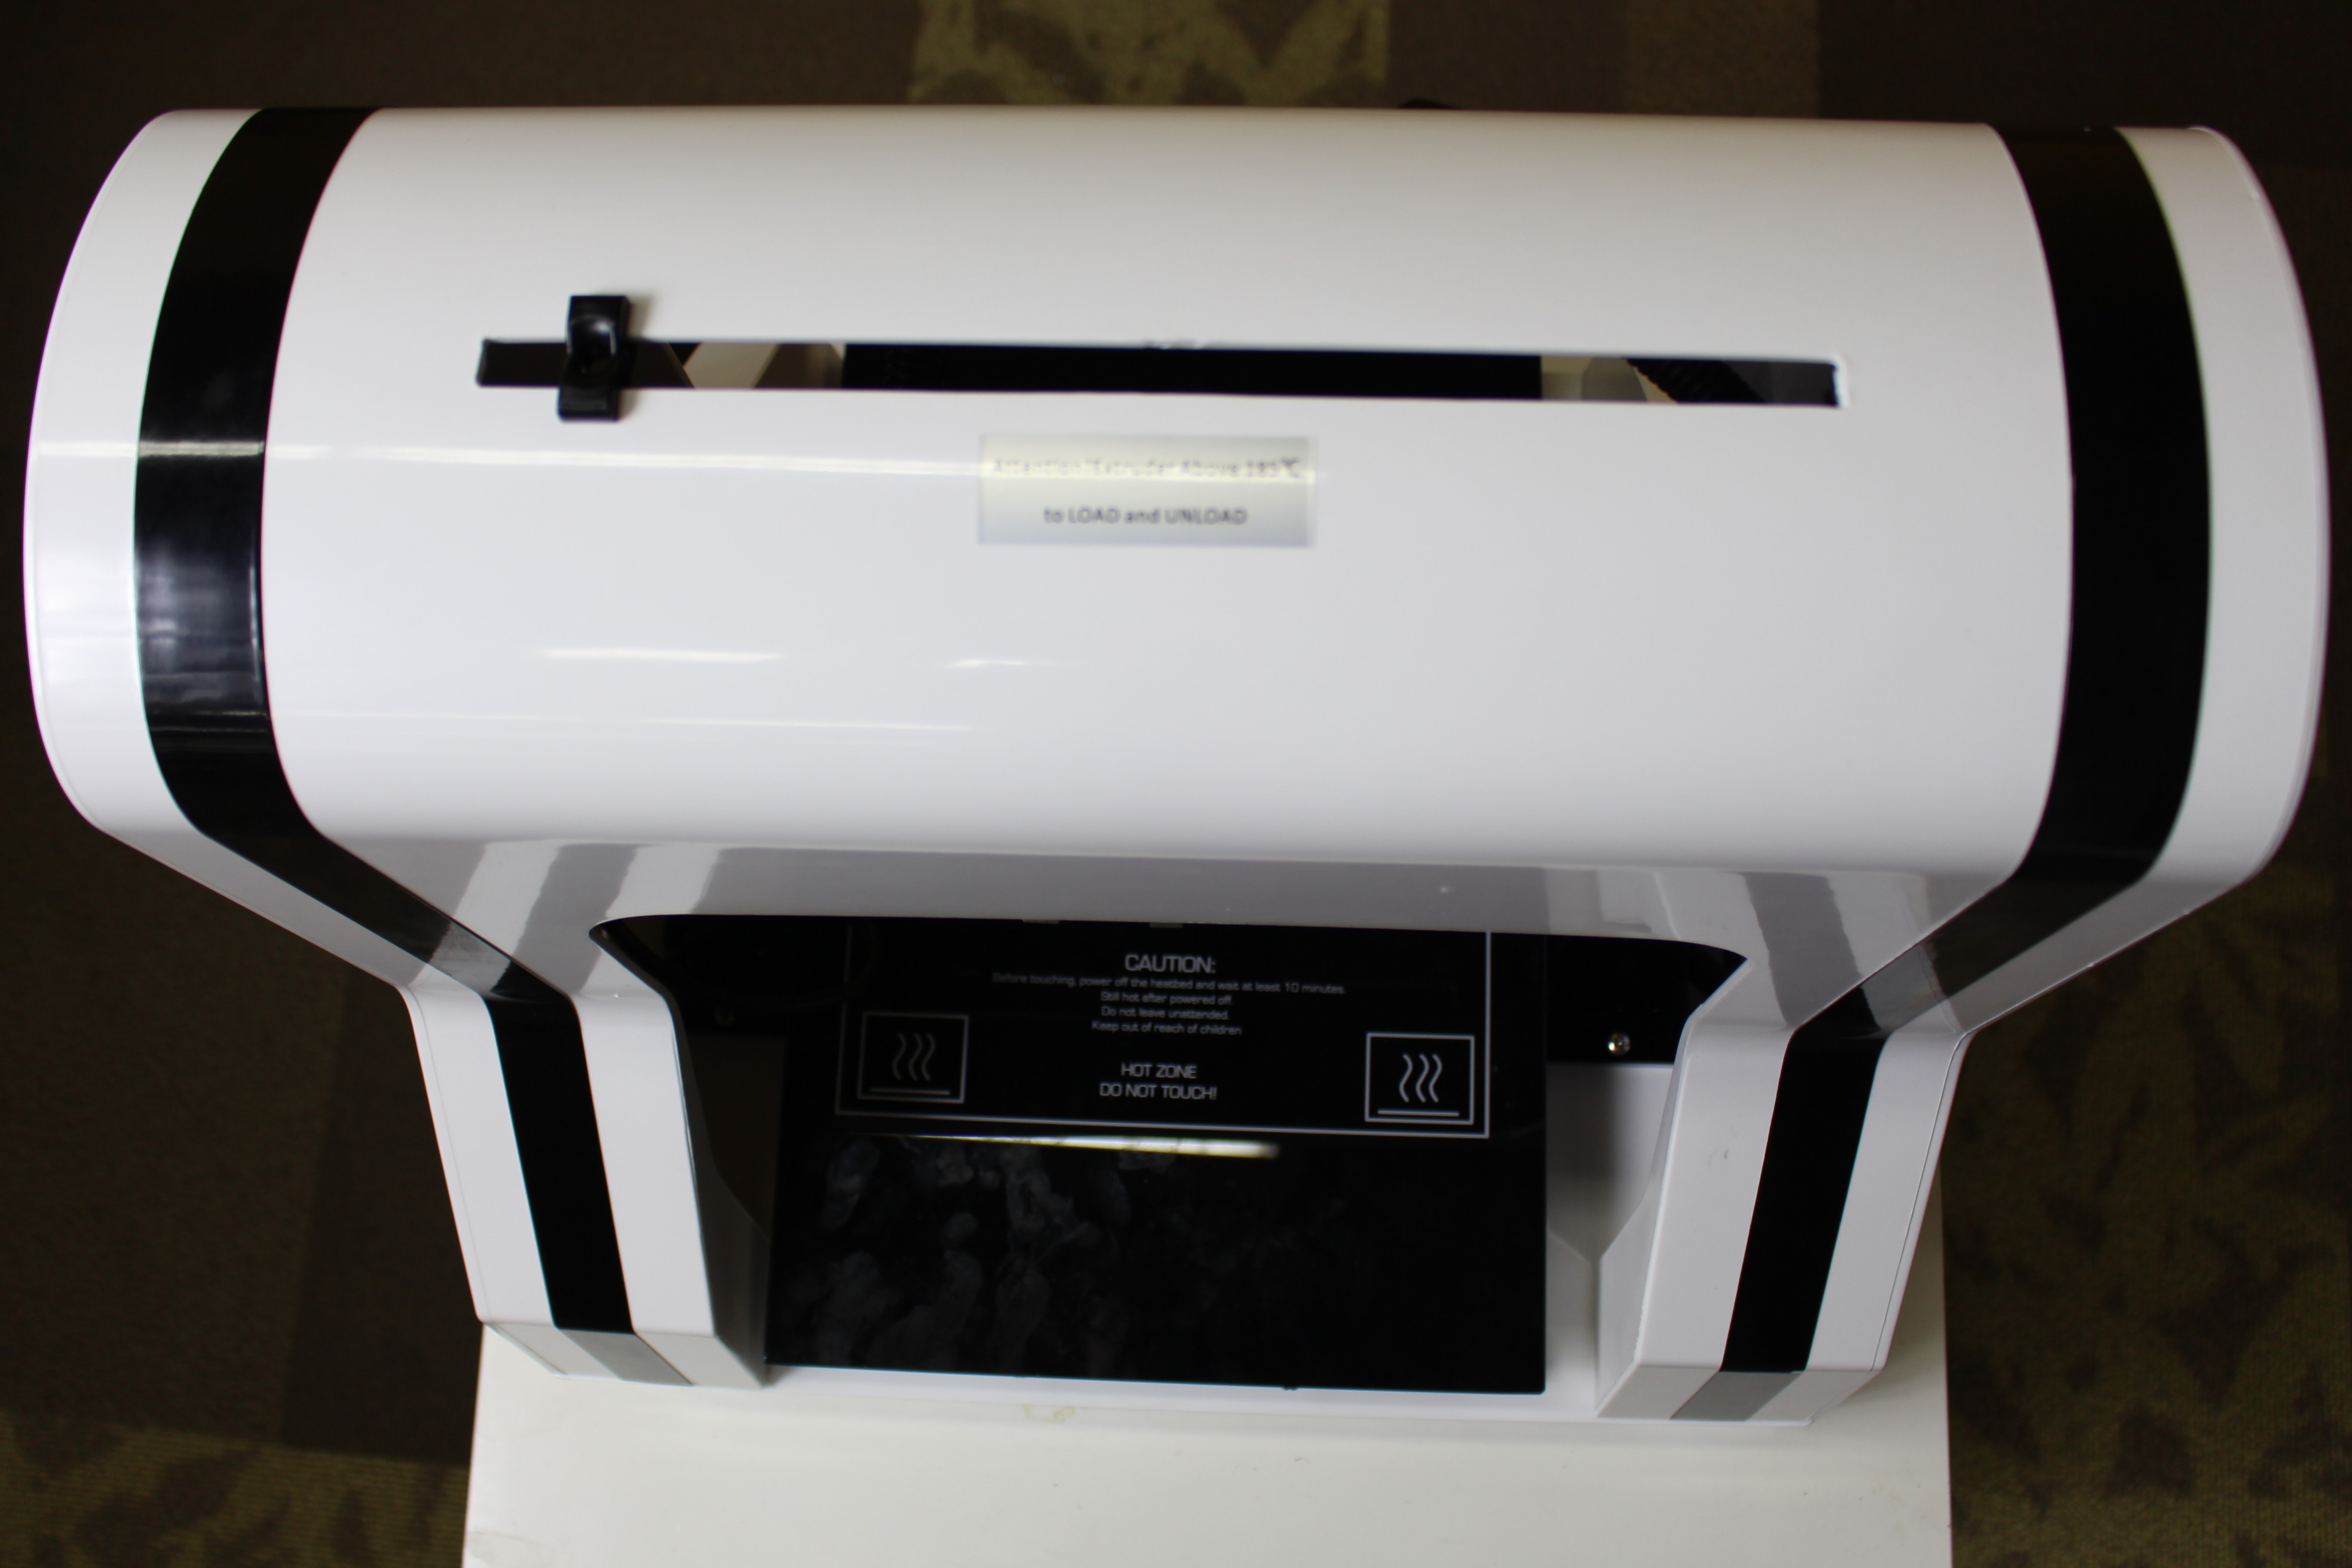
1. Look through the slot along the top of your R1+ and look for the tensioner screws and the nuts that control the filament latch. 
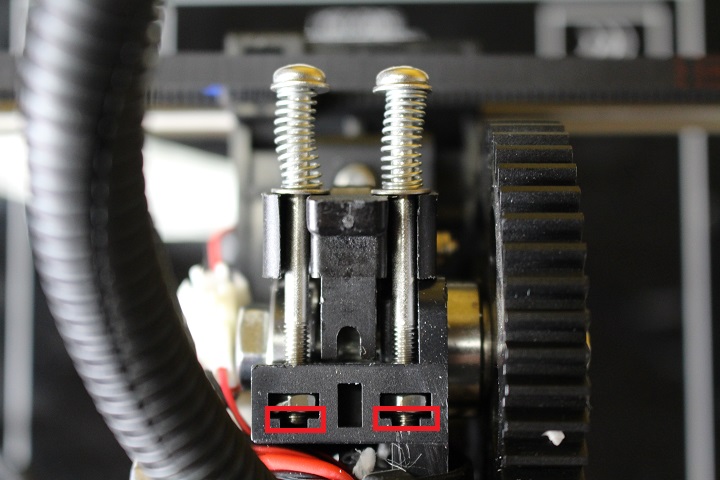
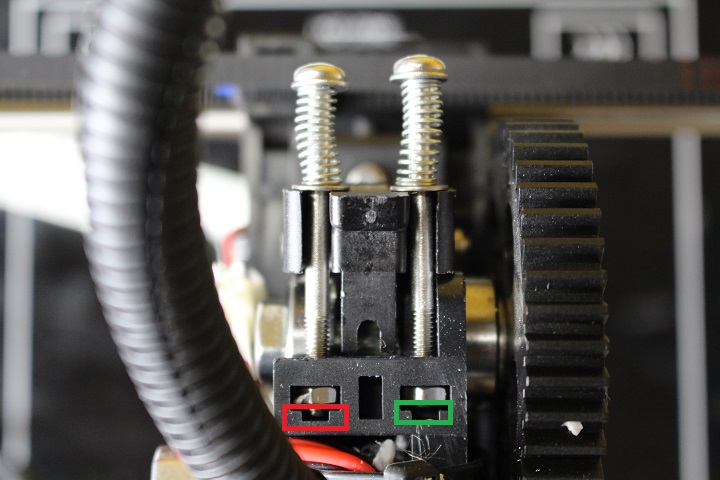
2. If you see that the screws are tightened past the nut your tensioner springs are overtightened. Conversely, if you don't see them on the other side of the nut there's a possibility that they are too loose. 
3. If you don't see the screws outside of the nut lock, tighten them to the point where you can see them as pictured above.
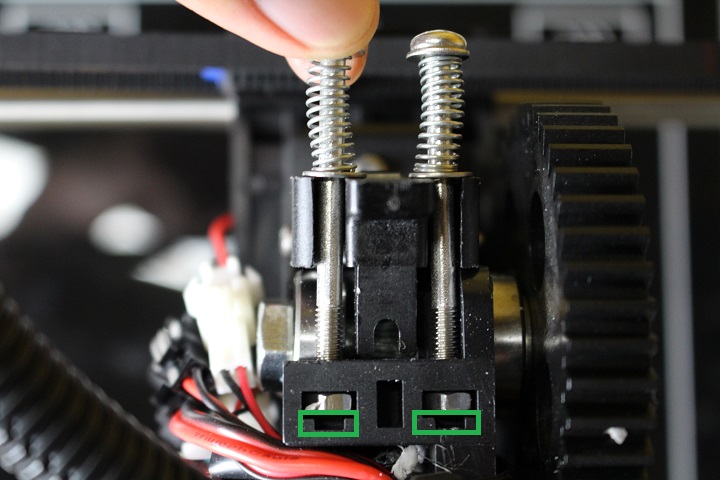
4. Now slowly loosen the screws until the bottom of the screw just becomes flush with the end of the lock nut. Do this for both screws.


Your filament latch has now been properly adjusted!
Comments
1 comment
So what exactly is the size of those nut locks.
Please sign in to leave a comment.