Removing Extruder Assembly
In the case that you need to remove your Extruder assembly follow these steps.
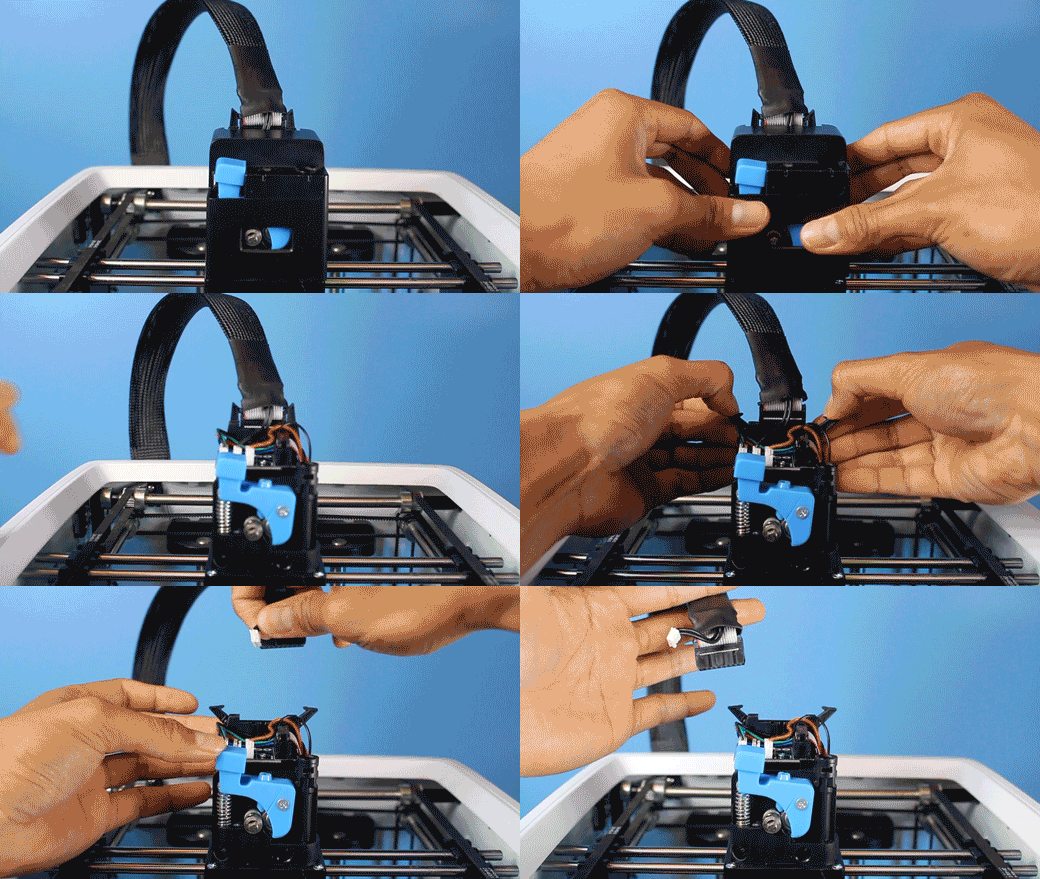
- Remove the Extruder Cap, unlatch the extruder cable, and unplug the extruder power cable.
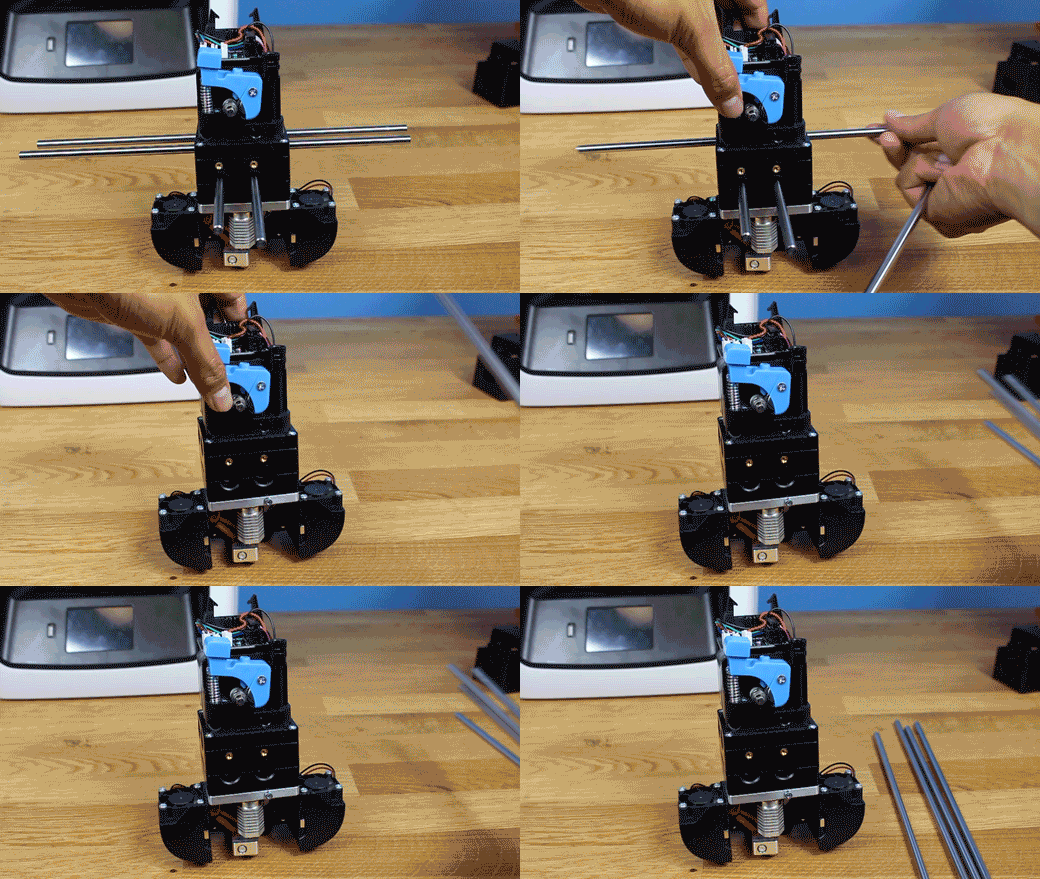
2. Remove the 6mm rods from their respective brackets by popping them out. The best method is to push the 6mm rod in one direction while pushing the 8mm rods in the opposite direction to prevent damaging the 8mm rods.
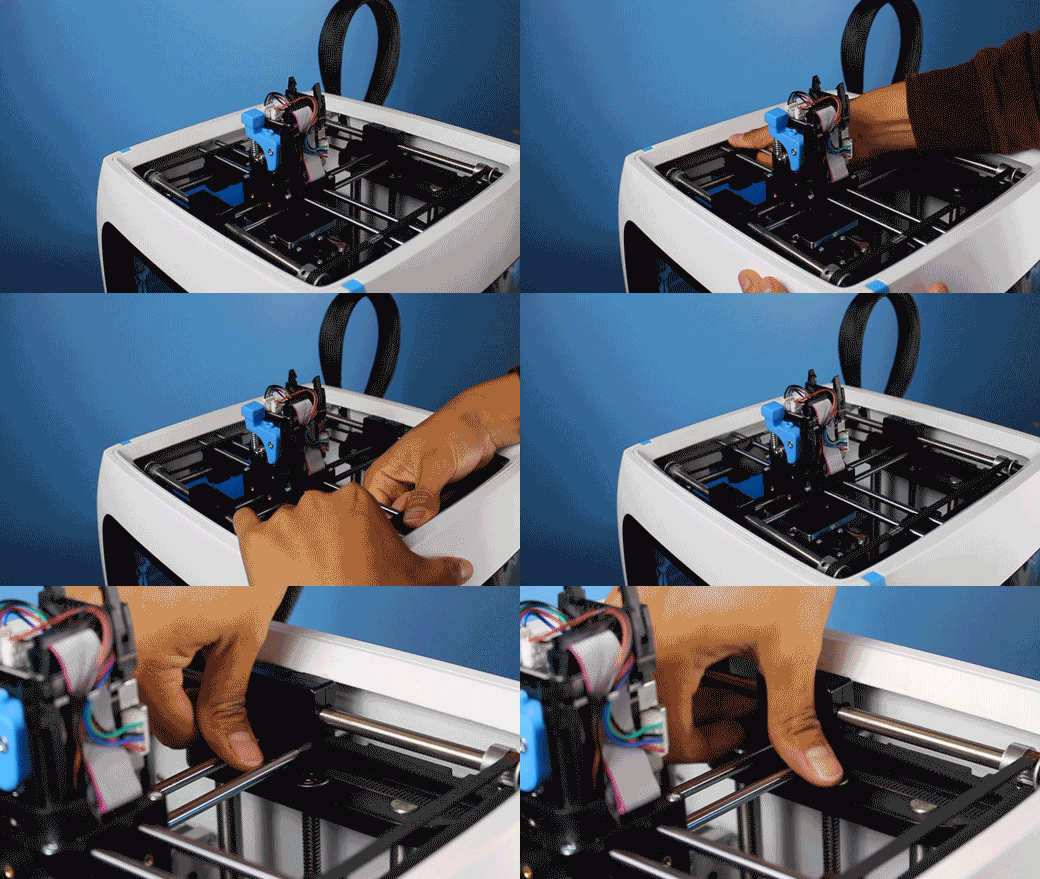
3. Push all 4 brackets back so that you can slide the rods out of their sockets
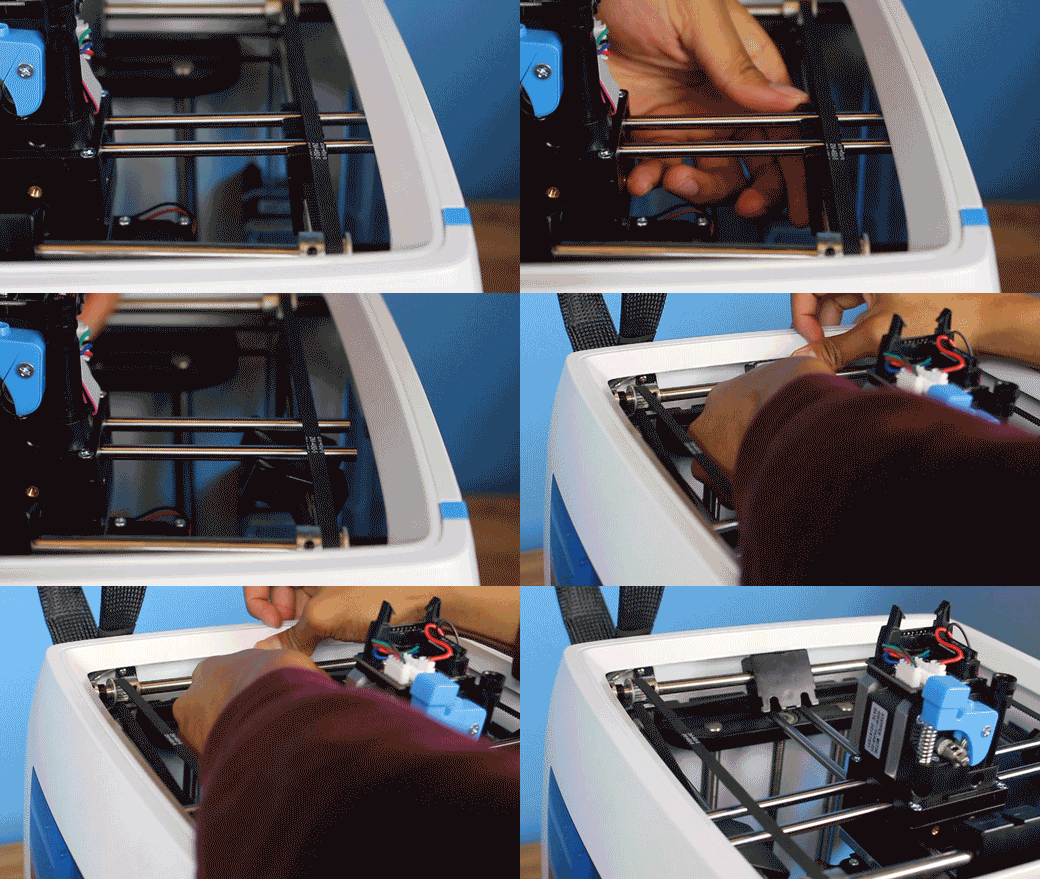
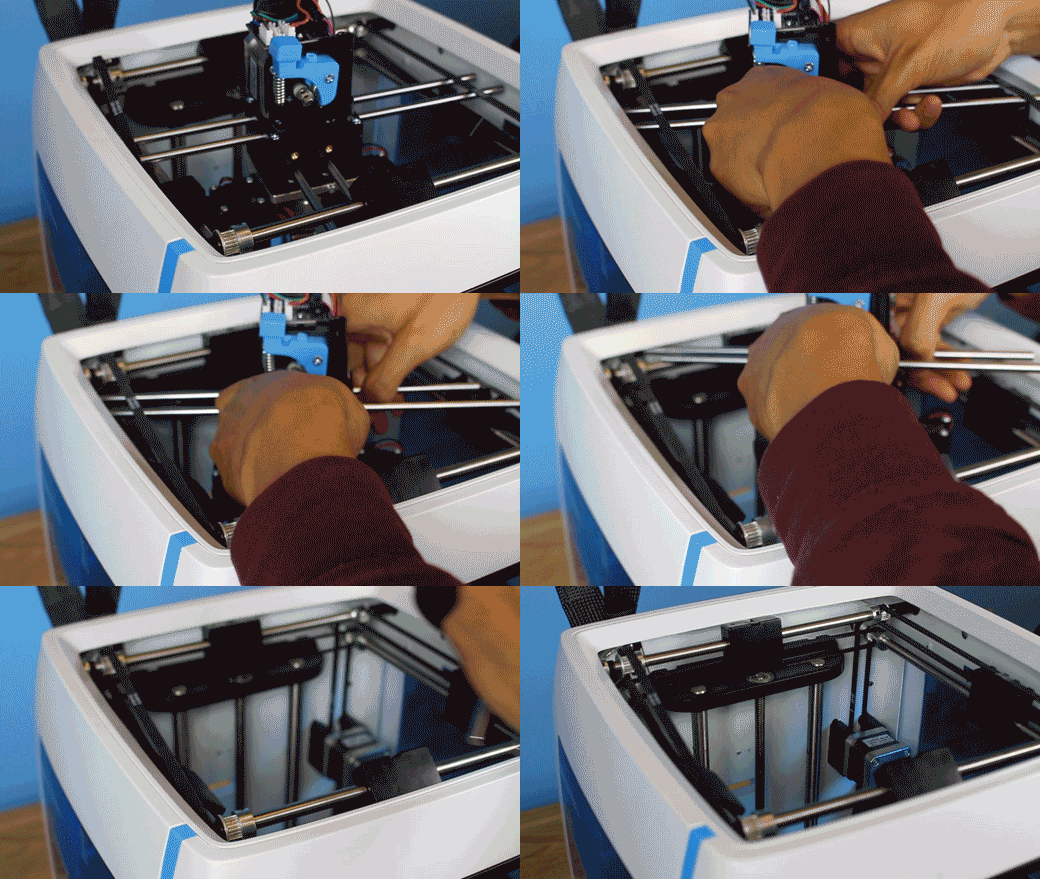
4. Turn the entire assembly so that the 6mm rods are pointed towards the corners of the printer and slowly move them out.
CAUTION: Be careful of the 6mm rods, they are well lubricated and may slide out during removal.
Changing 6mm Rods and Bearings
1. The 6mm rods should easily slide out of the extruder once removed.
2.There are four screws that need to be removed that hold together the housing for the bearings. When removing and replacing these screws, always start with #1. This screw is a little difficult to deal with as the motor is blocking a direct path to it.
TIP: Using a #1 Phillips size screw driver or M3 size driver will work best.
3.Cables that run from the uptown PCB to the downtown PCB prevent you from taking the assembly apart completely. Do not overextend the cables as you may damage the wires. Lift up the assembly just enough to reach the bearings and lift them out of place.
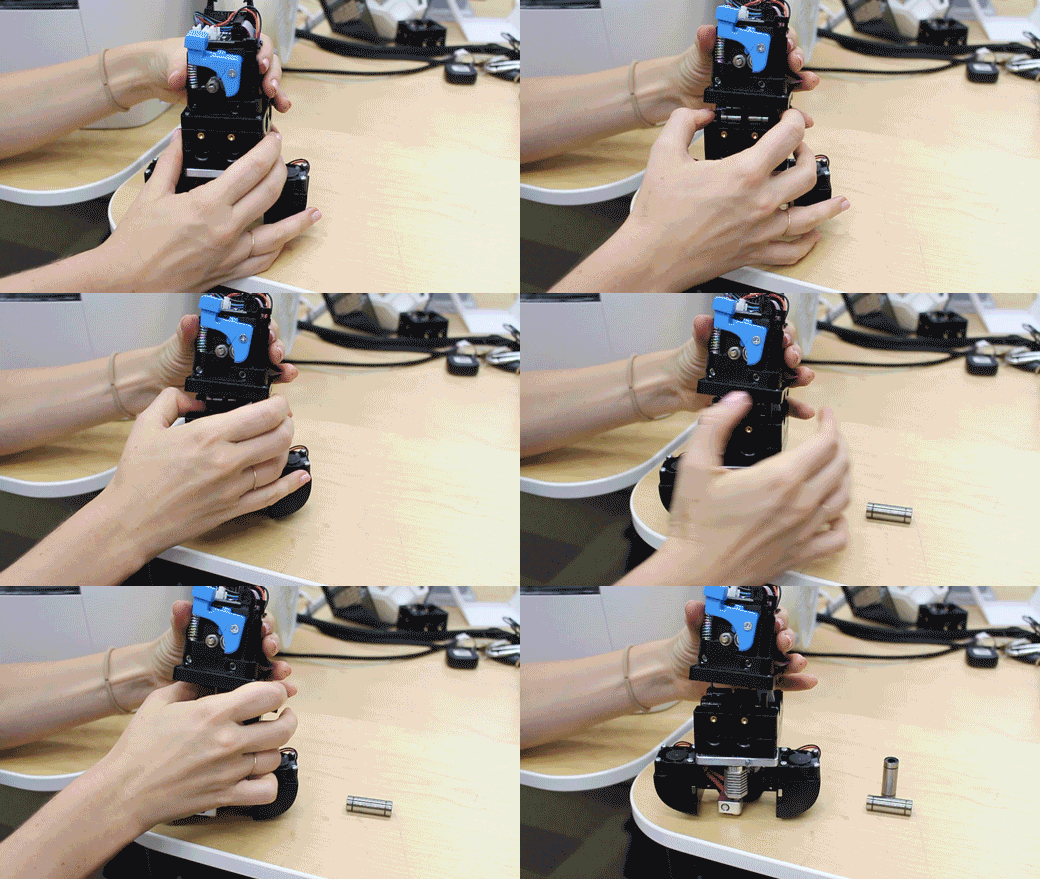
To replace them just repeat the process in reverse.
Comments
0 comments
Please sign in to leave a comment.