Loading filament into the R1+
Before you begin a print you need to load filament. Follow these steps to properly load your printer with filament.
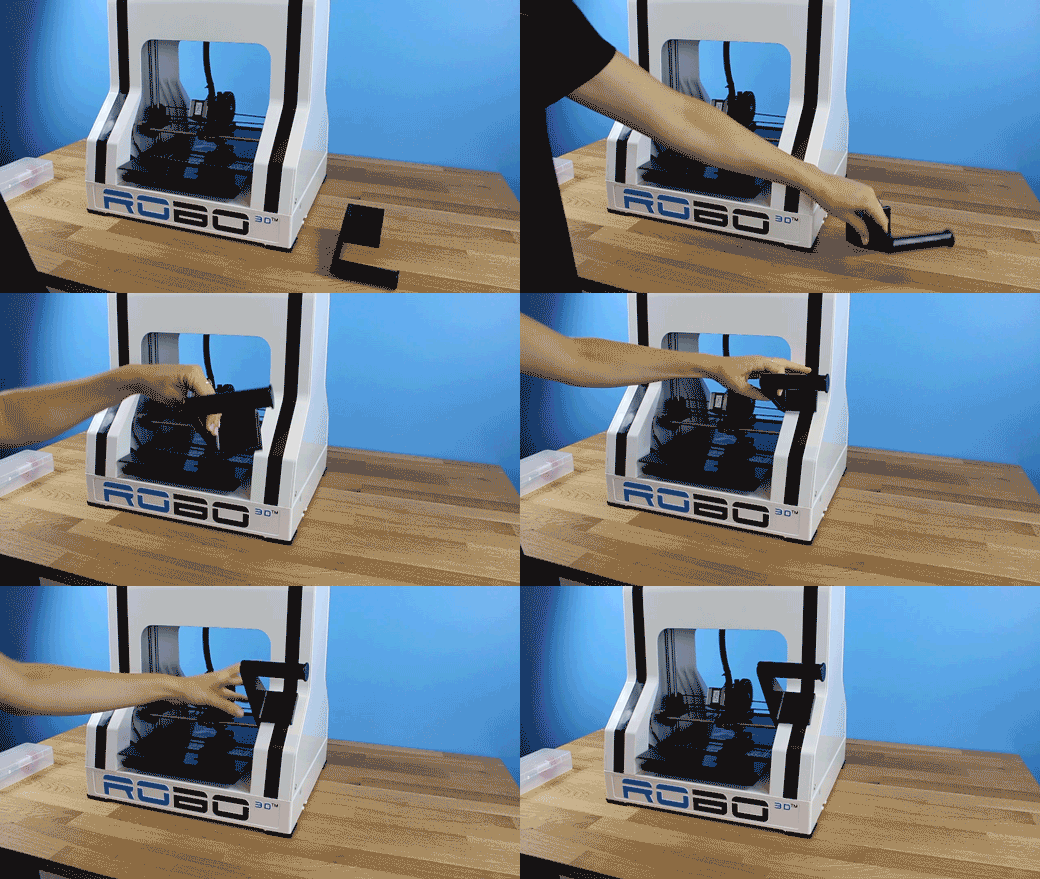
Take the spool holder that came with your printer and put it on by simply sliding it onto one of the sides of the plastic top cover.
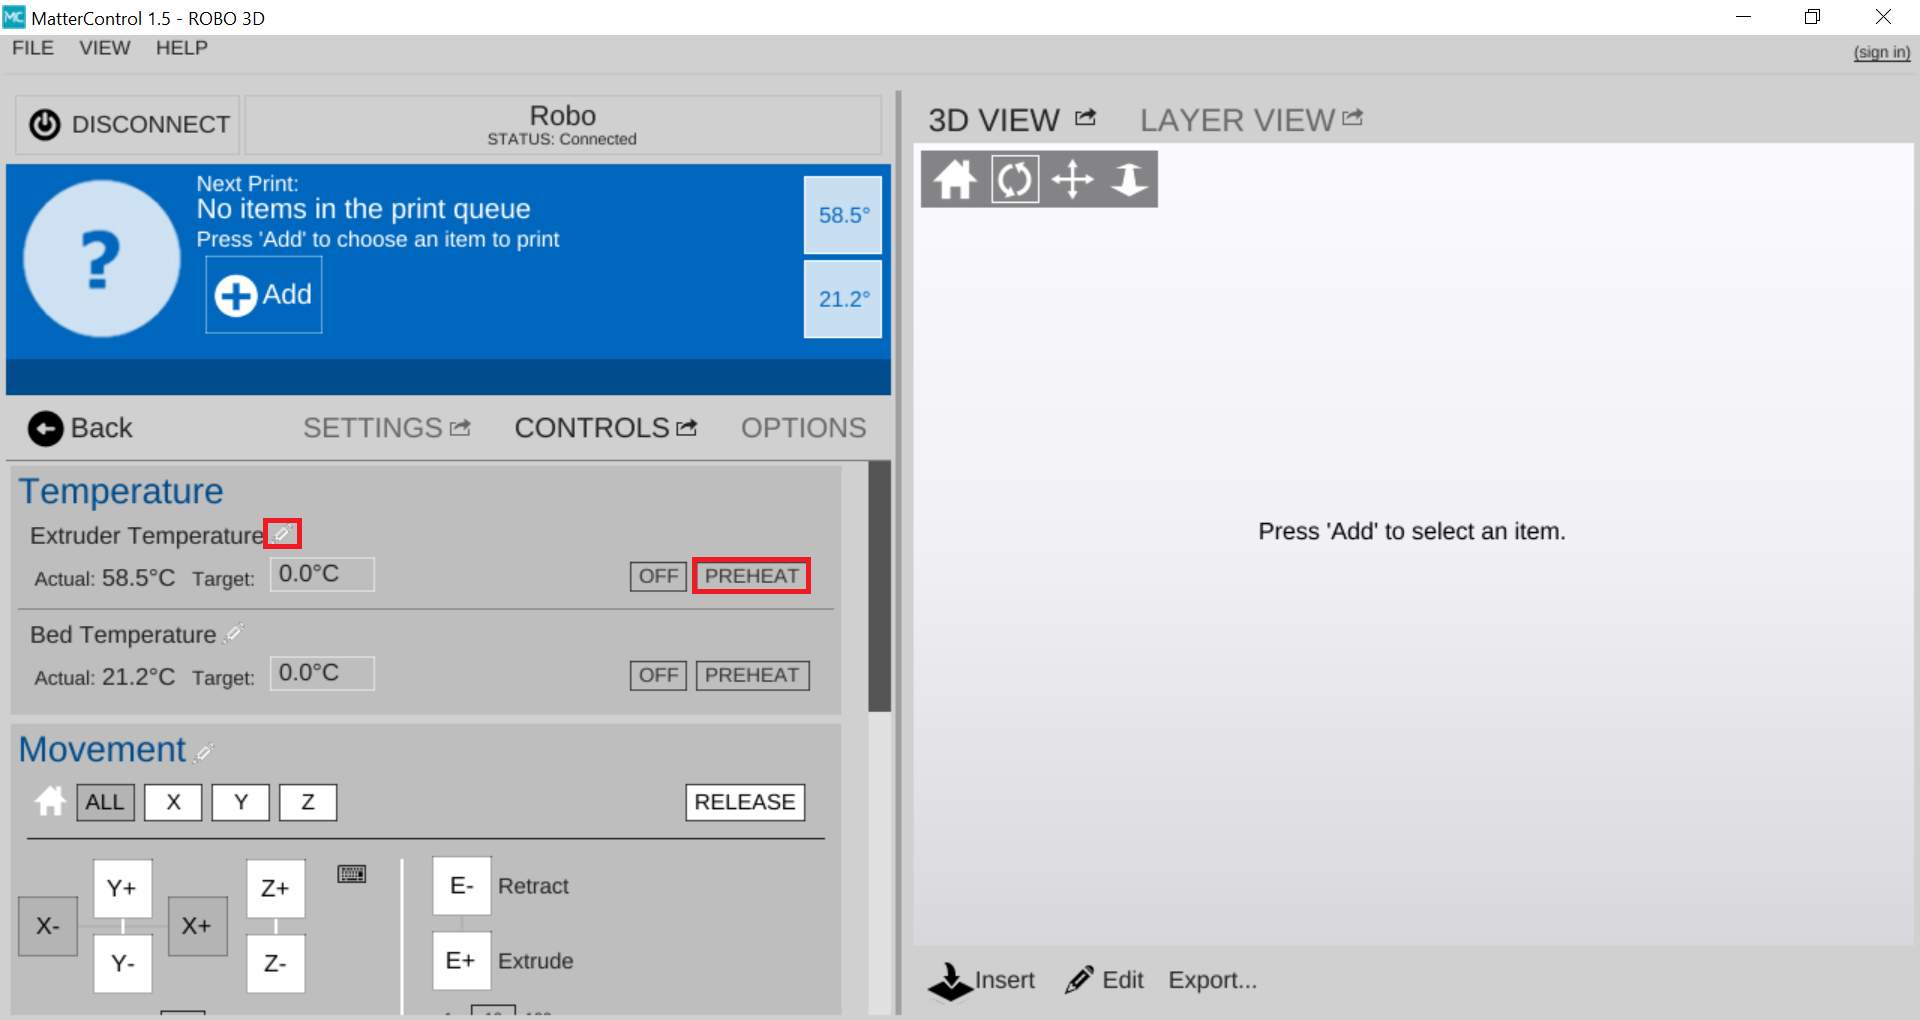
To begin loading filament you need to preheat your nozzle through MatterControl. On the main dashboard, click Settings & Control
You can either click the PREHEAT button to preheat the print to a default temperature of 210°C, or create your own presets by clicking the pencil icon next to Extruder Temperature.
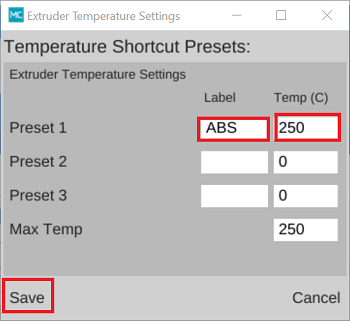
If you choose to create your own preset, a new window will popup after clicking the pencil icon. In this window you can set up to 3 custom presets. Once you name the preset and designate a temperature, click Save.
After you click PREHEAT or one of your own presets, you should see the target temperature change to your desired temperature.
Note: You can preheat and create presets for the bed as well but it’s not necessary for loading filament
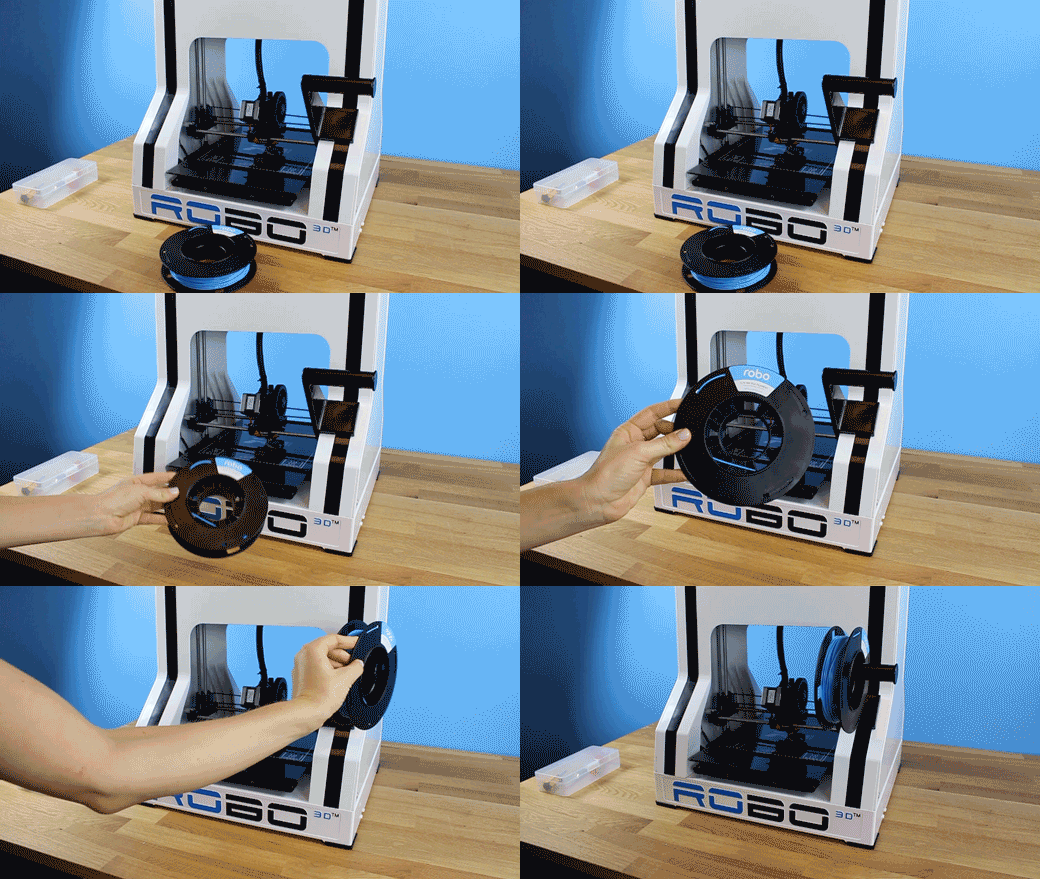
While that is heating up, hang your filament spool on the spool holder.
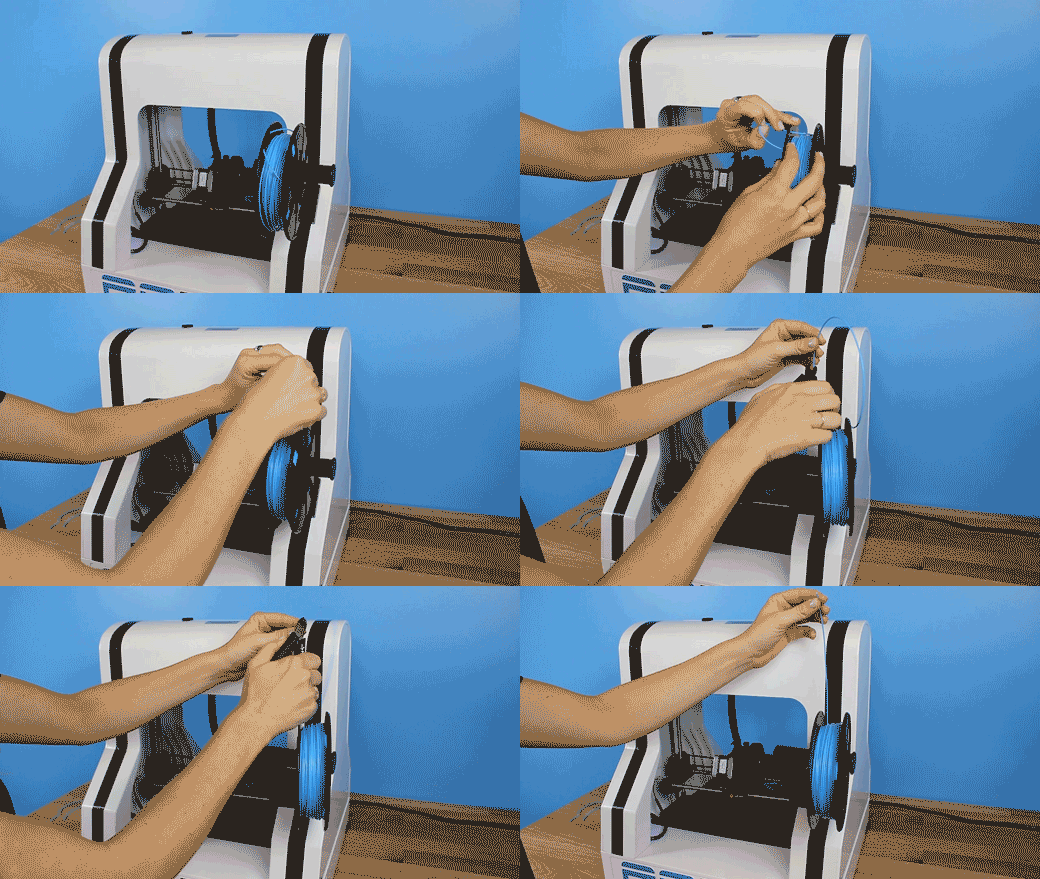
Be sure to unroll at least 11”— or 30 centimeters — of filament and cut the tip with a pair of scissors.
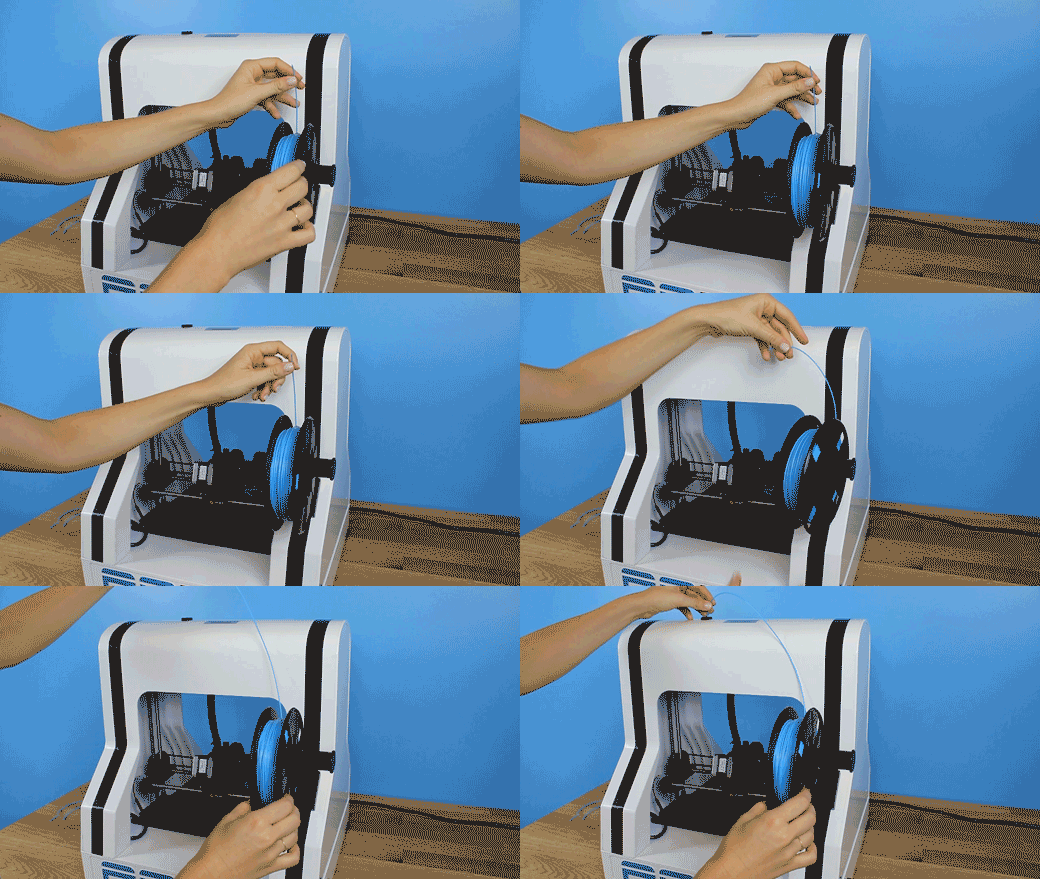
Now thread the filament through the filament guide at the top of the printer.
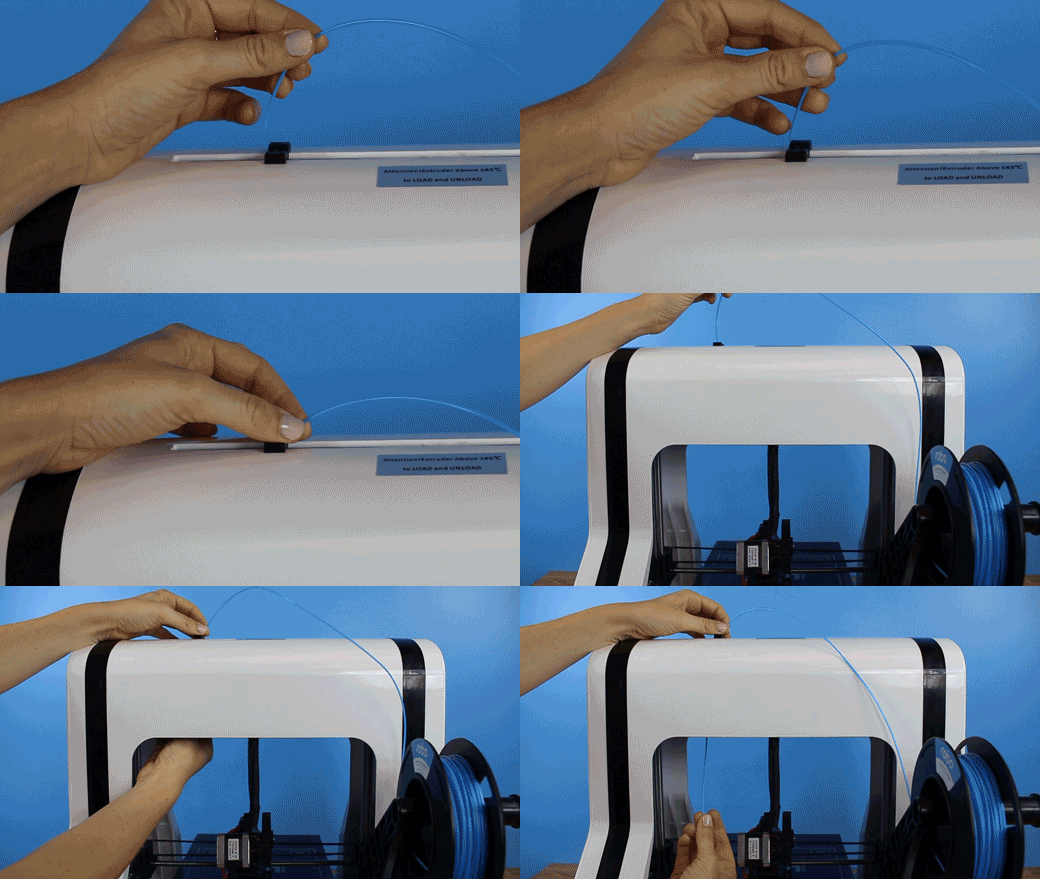
Insert filament down through the filament gear, you may need to pull back the filament latch to thread the filament into the extruder.
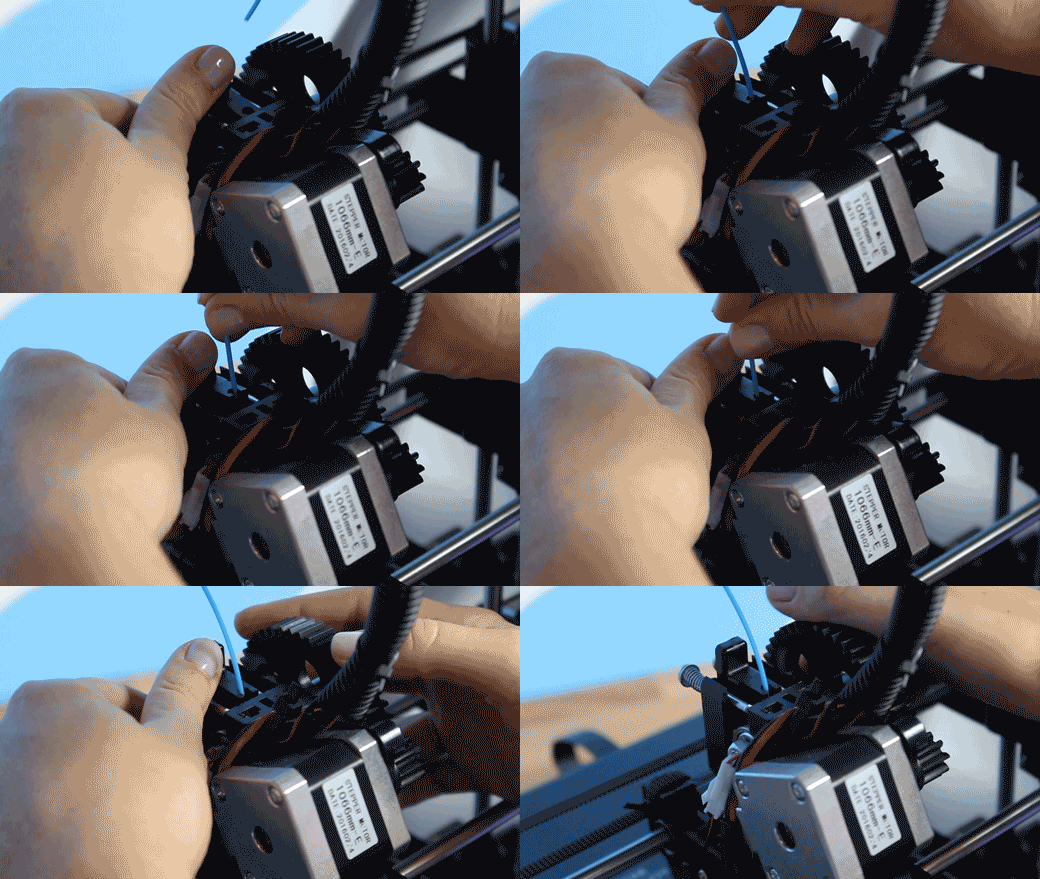
Once inserted, turn the filament gear until you see filament coming out of the extruder nozzle.
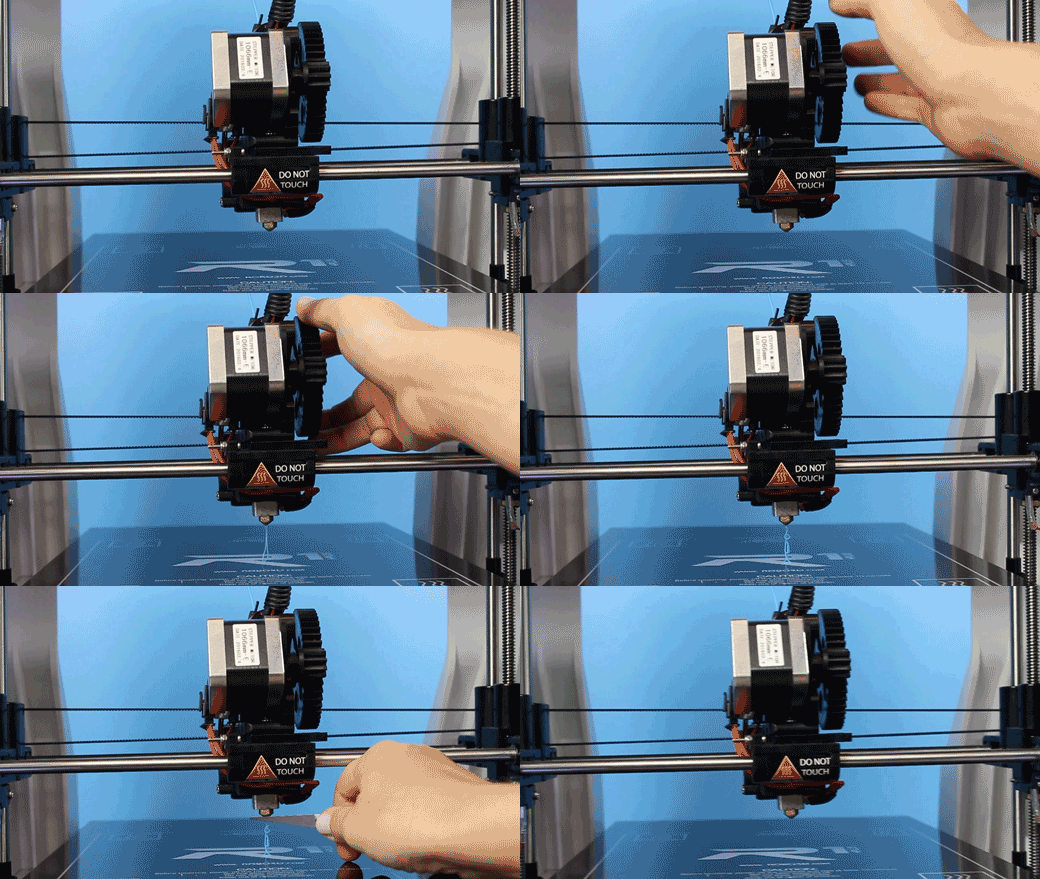
Now you’re ready to start printing!
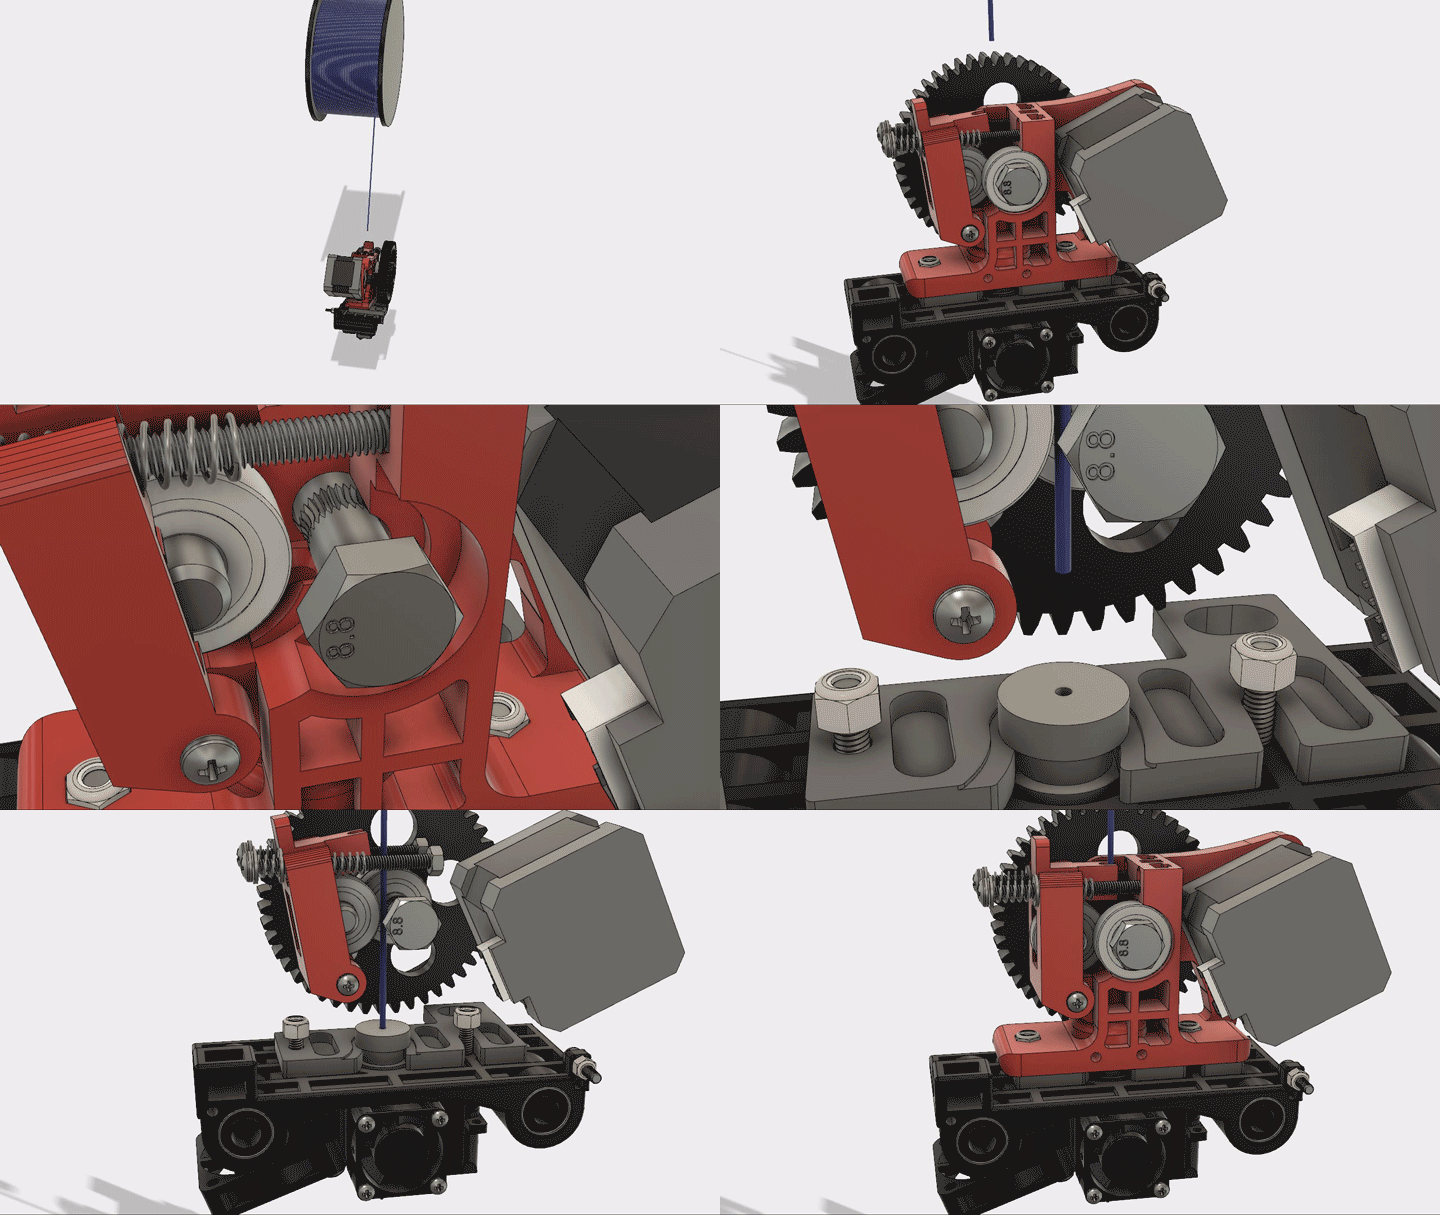
Below is a closer look at the how filament is inserted into the extruder.
NOTE: No parts need to be removed to properly insert filament. The parts were just hidden from view to better show the path of the filament.
Comments
0 comments
Please sign in to leave a comment.