Initial printer setup for R1+
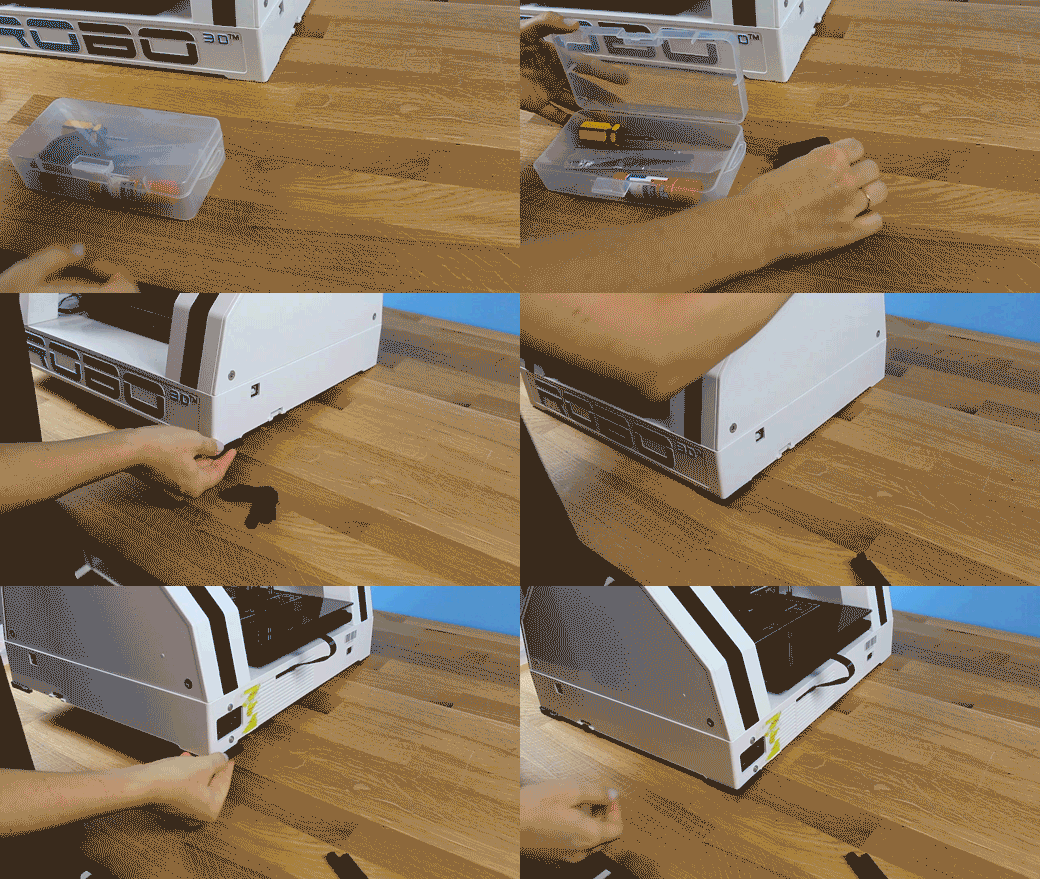
Inside the toolbox, there are four small rubber feet. These attach to each bottom corner of your printer to make sure it doesn’t slide around or scratch your desk when printing.
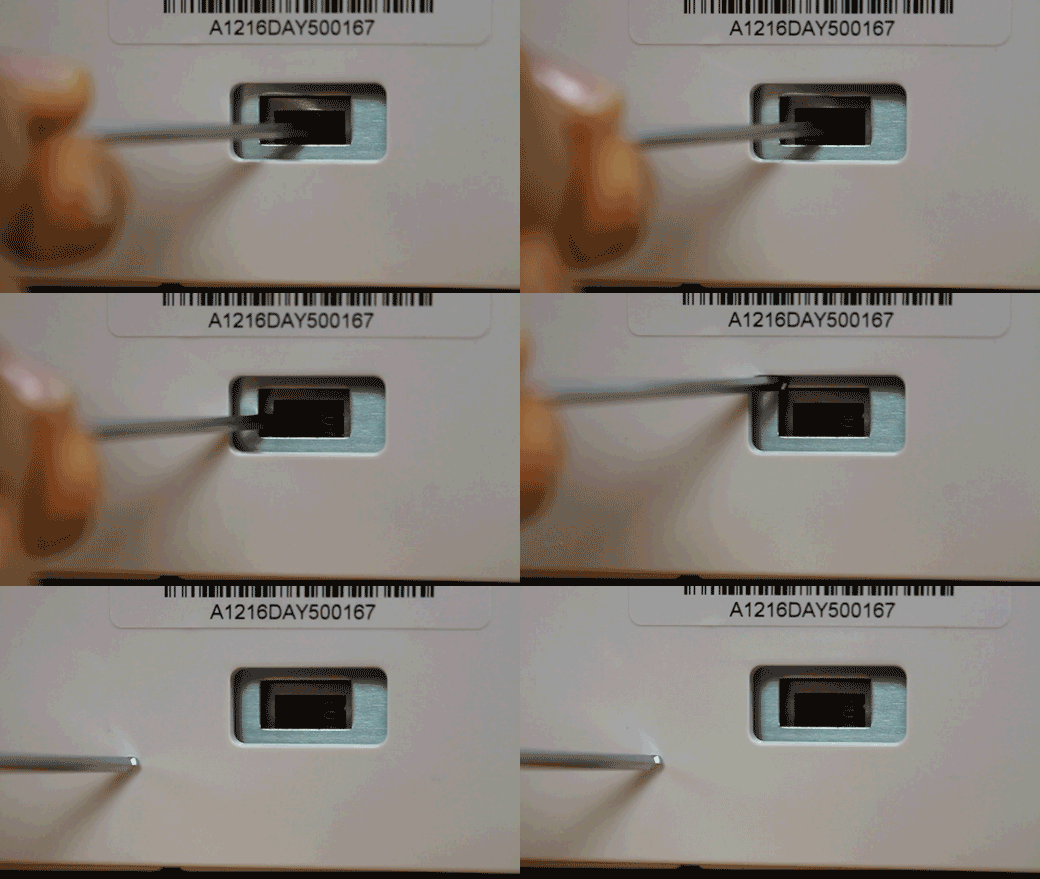
Next, make sure your voltage is set correctly. On the back of the printer, there is a voltage switch that has two settings: 110V or 220V. Set it to the appropriate voltage for your country. You can use the end of one of the included allen wrenches to slide the switch.
From here you’ll want to connect the power cord to the designated area on the back of the printer and then plug it into an AC outlet. Now go ahead and turn on the printer.


Comments
0 comments
Please sign in to leave a comment.