Connecting your Robo R1+ to MatterControl
Here we will add Robo R1+ to the MatterControl software which will enable you to control your printer.
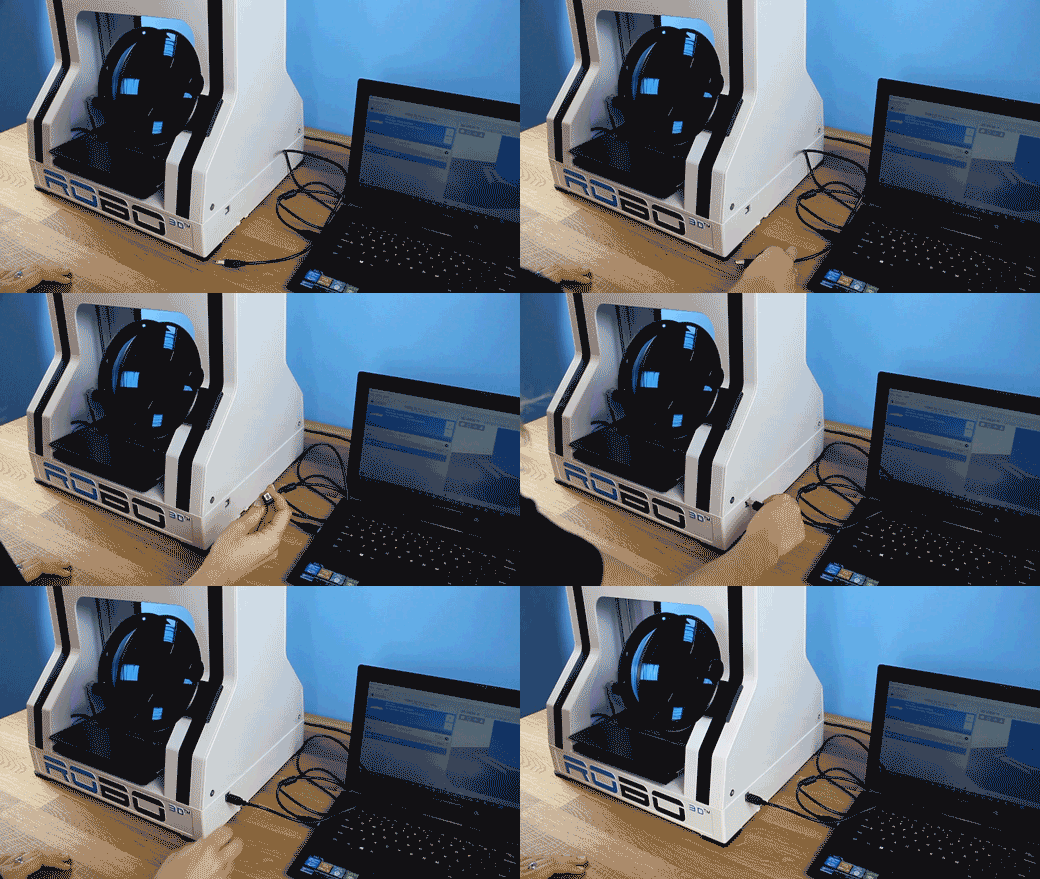
Open up MatterControl that you installed from the previous section. Connect your printer to the computer USB port via the USB cord that was provided with your printer.
Once MatterControl is open, click the Add Printer button towards the top of the screen.
A new window will pop up and you will be able to set up a 3D printer. From here you can assign your Robo R1+ a nickname. This can help you keep track of multiple units. Select R1+ from the model list and then click Save & Continue.
Now a new set of windows will open and prompt to “Install Communication Driver”. Do this by clicking Install Driver in the bottom left corner of this screen. Once the driver is finished installing, a new window will appear. Follow the instructions on this screen. First disconnect your computer from Robo R1+ (if currently connected) by unplugging the USB connection on either the computer or printer side, then click Continue. Next, reconnect your printer when it prompts you (make sure your R1+ is turned on). Once the printer connects, you will see a “Connection Succeeded!” message. From here, click Done.
You have successfully connected your R1+!


Comments
0 comments
Please sign in to leave a comment.