Starting your first print on the R1+
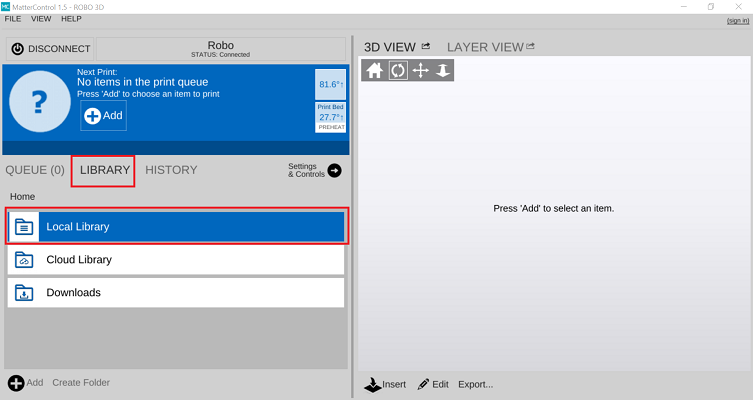
To start your first print. You can either load your own file, or choose one of the preloaded prints inside the local library. To print one of the preloaded files, navigate to the LIBRARY tab and then select the Local Library.

If you don’t want to keep your computer connected to your printer for the duration of the print, you can also start a print straight from the SD card!
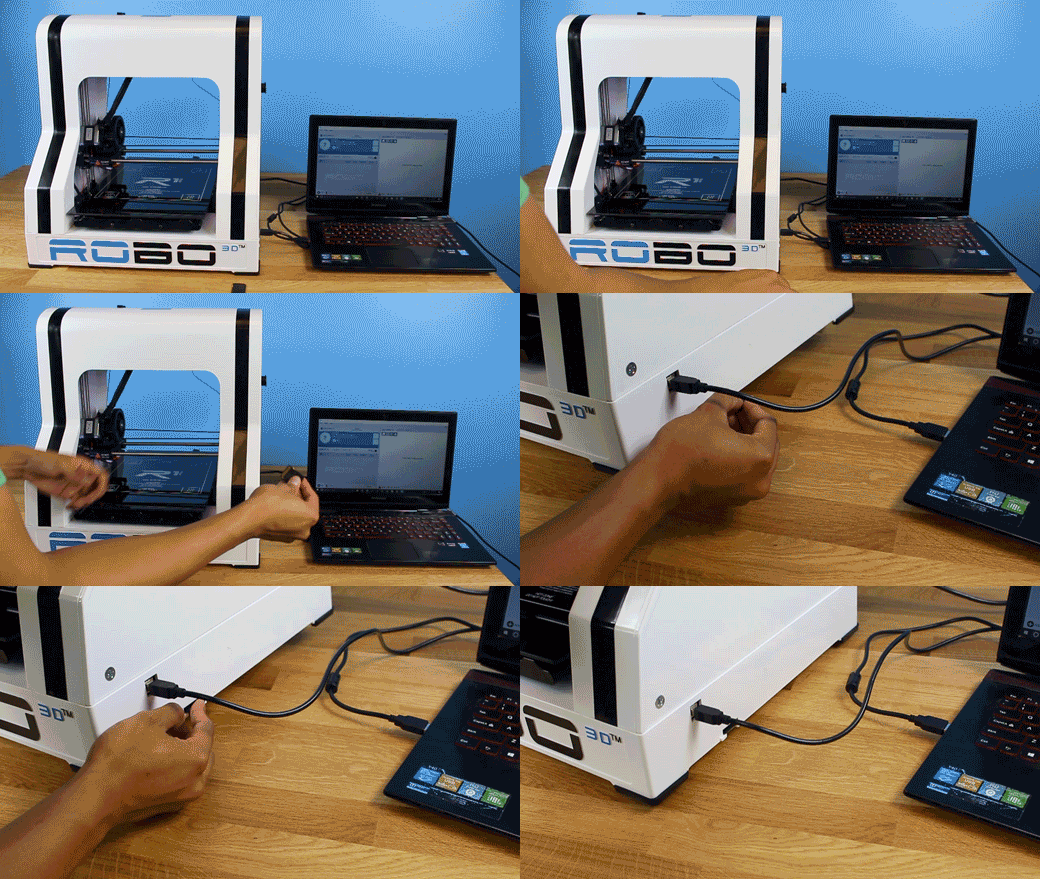
After loading files onto the SD card from your computer, insert it into the printer.

First click QUEUE at the bottom right of the dashboard.
Then select Load Files under SD Card
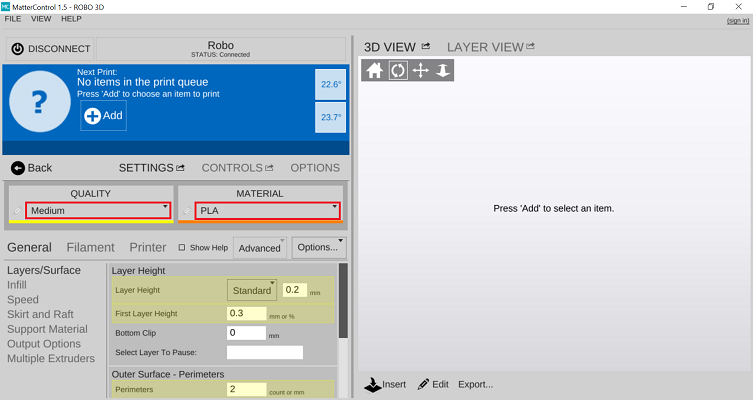
Before you start a print, make sure to double check your slicing settings. To do that, under Settings & Control, select Settings. For most of the preloaded prints, default settings will suffice and all you need to do is make sure the material you loaded into the printer and the set material are the same. You can also select your desired print quality.
Note: For more advanced prints and geometries, you may need to edit the slice settings to ensure a perfect print.

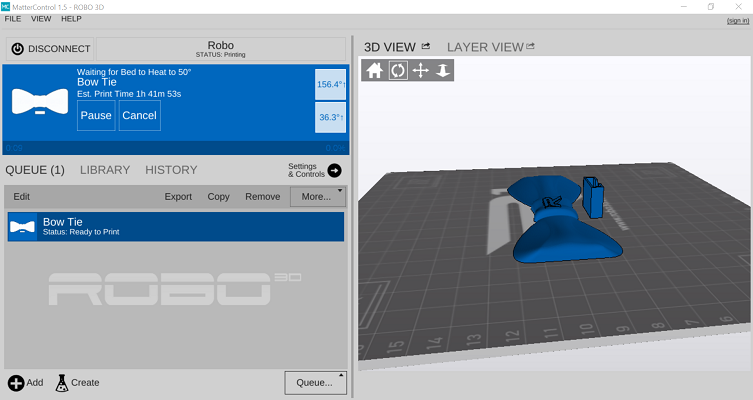
Once you select a file and finalize your settings, click PRINT towards the top left of the window and your printer will begin preheating. Your R1+ will begin printing as soon as the printer is completely preheated.

Note: You can select PAUSE to pause your print, or you can select CANCEL to cancel your print.
Comments
0 comments
Please sign in to leave a comment.