Replacing your Hotend Nozzle
Follow these steps to remove your hotend nozzle
1. Make sure to turn your Robo C2 off, and unplug the power cord from the back of the machine.
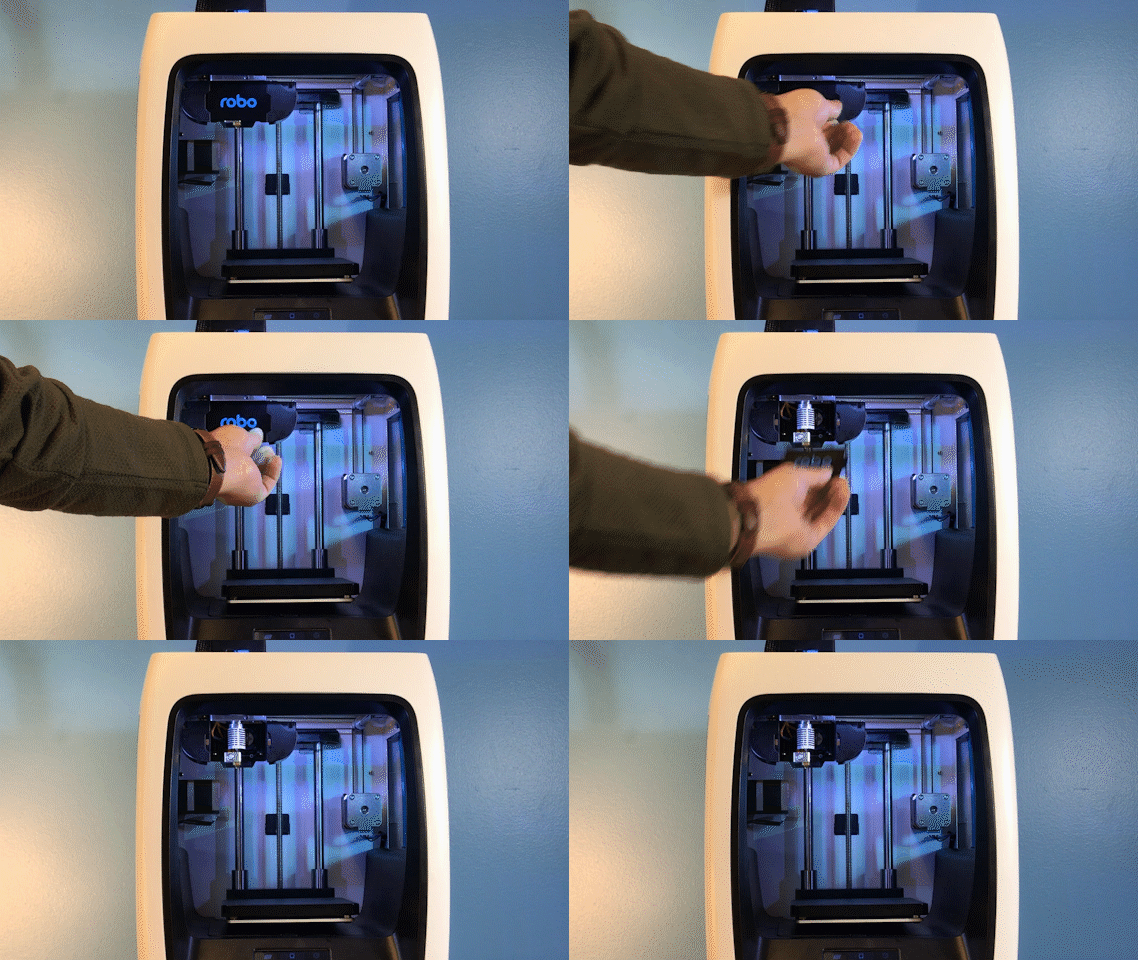
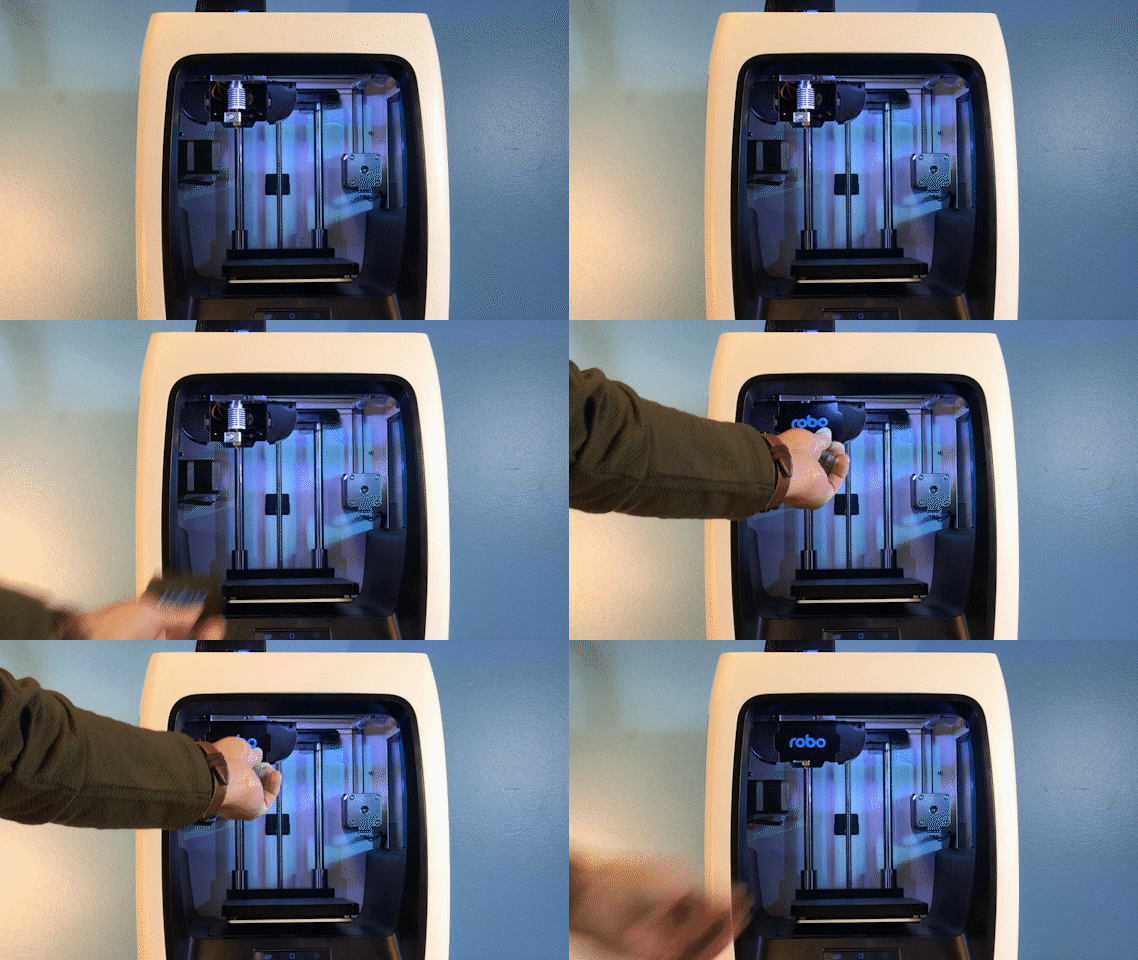
2. Remove the magnetic extruder plate to expose your entire hotend and wires.
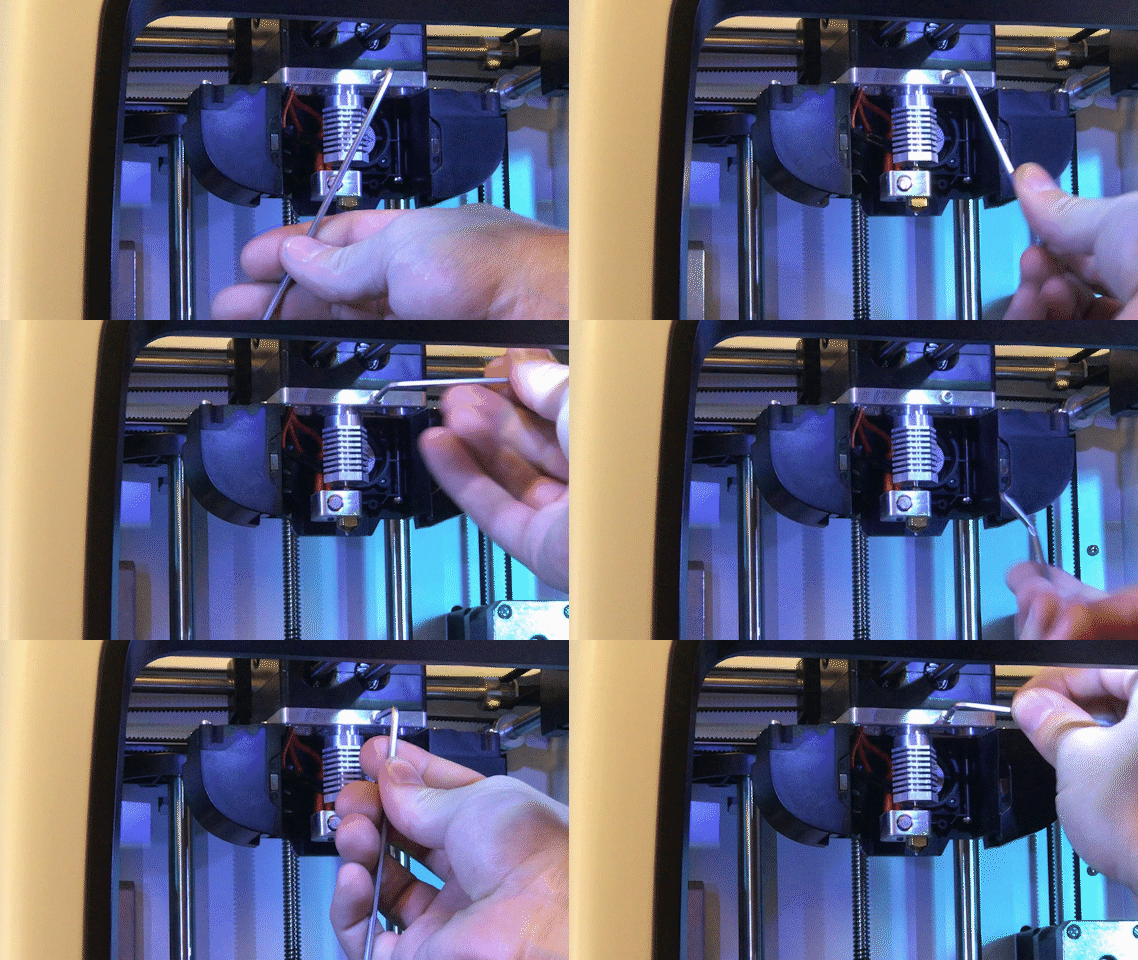
3. Carefully loosen the socket head screw that is on the front of your extruder using one of the allen wrenches from your supplied tool kit, making sure to not strip it. You hot end should be able to fall out of its housing by slowely pulling downward. Carefully pull the thermistor and heater core wires by hand to remove them from their housings by pulling out one plug at a time, making sure to not force it. In this R2 article, you can see how it should be pulled out.
Note: If you are switching out thermistor and heater cores with others, follow this article.
4. Place new hotend in by reversing these steps. Push the hotend as far as it can go up into the seated ring and make sure it is flat against the top and is not sitting at an angle. Then plug in the heater and thermistor in their respective positions.
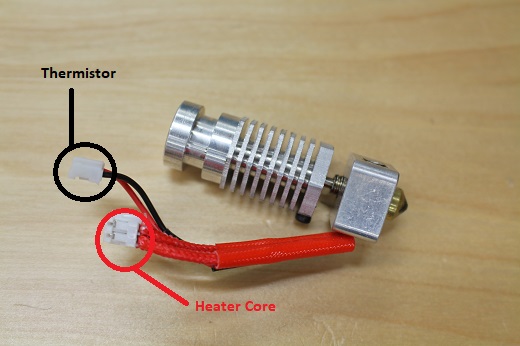
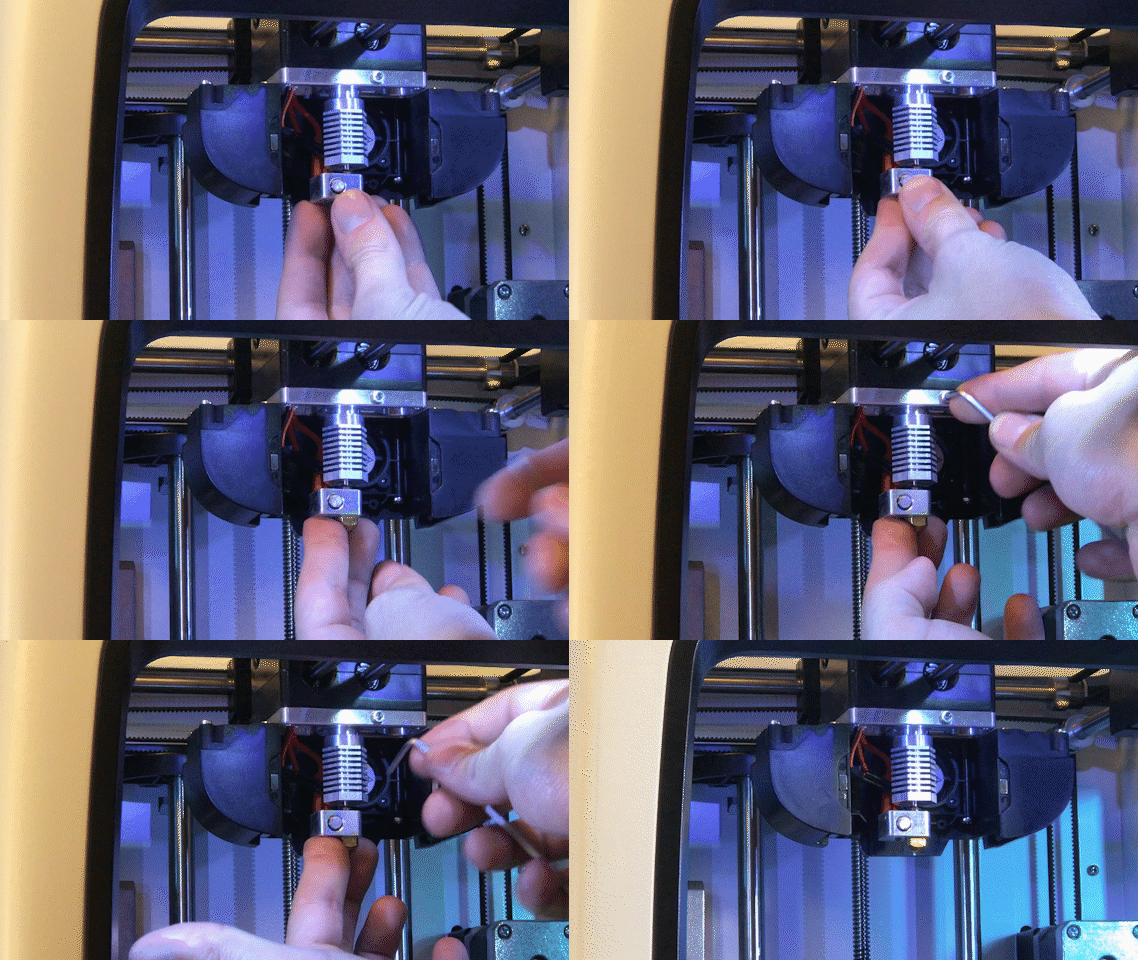
5. Once plugged in tighten the hex screw until you feel a good amount of resistance and the hotend cannot be pulled out with your hand. Be sure to hold the hotend up in to it's seat all the way as you tighten. Make sure you align the heater block to be parallel with the front of the extruder so the hotend cover (metal piece with Robo logo on it) will lay flat against the magnets when reinstalling.
6. Turn the printer back on and test.
Comments
0 comments
Please sign in to leave a comment.