Initial set-up
Now let’s move forward with your initial set-up of Robo R2.
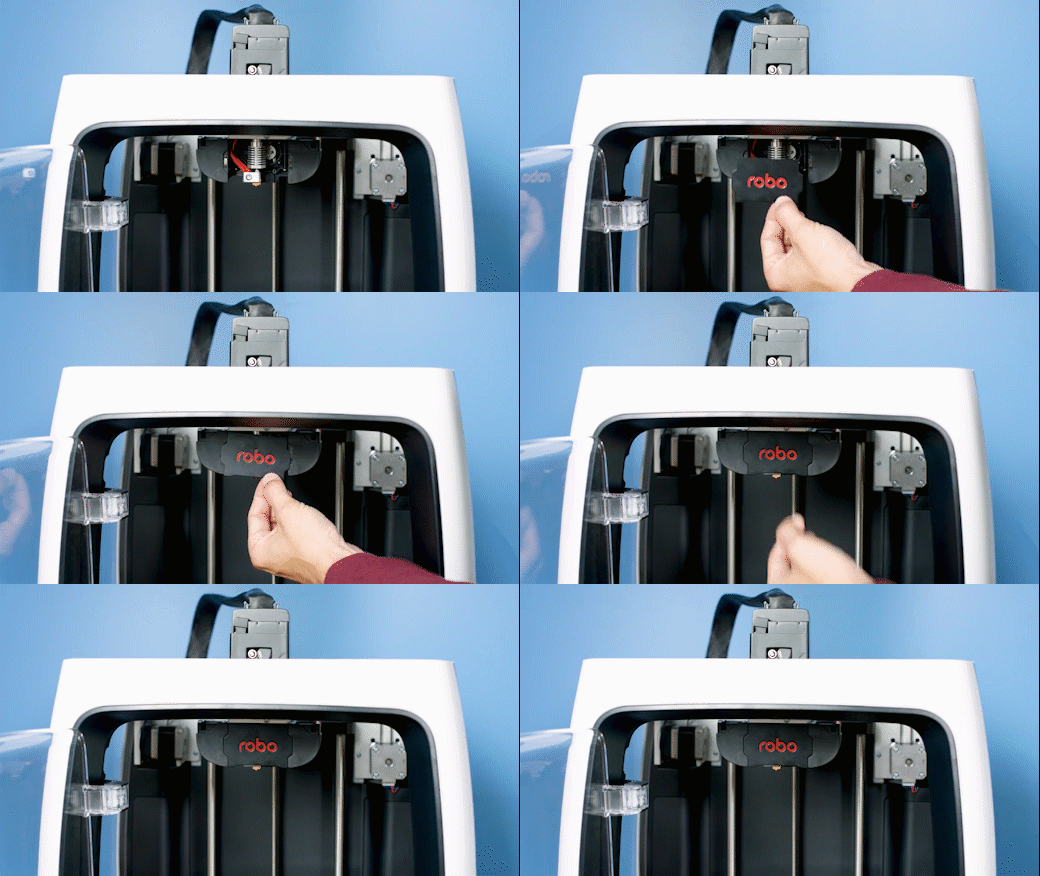
Inside the inclusions box, there is a small toolbox; here you will find the hotend cover. Go ahead and take that out and place it over the hotend. It is held in with magnets so it just pops right in.
From here you’ll want to connect the power cord to the designated area on the back of the printer and then plug it into an AC outlet.
Now go ahead and turn on the printer.
It is necessary connecting Robo R2 to your Wi-Fi network. Doing so provides you with necessary updates that allows for a more enjoyable 3D printing experience.
Note: You can also use the provided Ethernet cable (LAN) to connect Robo R2 directly to your Wi-Fi network.

Comments
0 comments
Please sign in to leave a comment.