Drive gear aligning and tightening
If your drive gear has come loose and/or it is not aligned with the filament feed pathway, take these steps to realign and tighten.
Note: Make sure there is no filament loaded into the extruder. If there is, heat up your extruder and remove the filament.
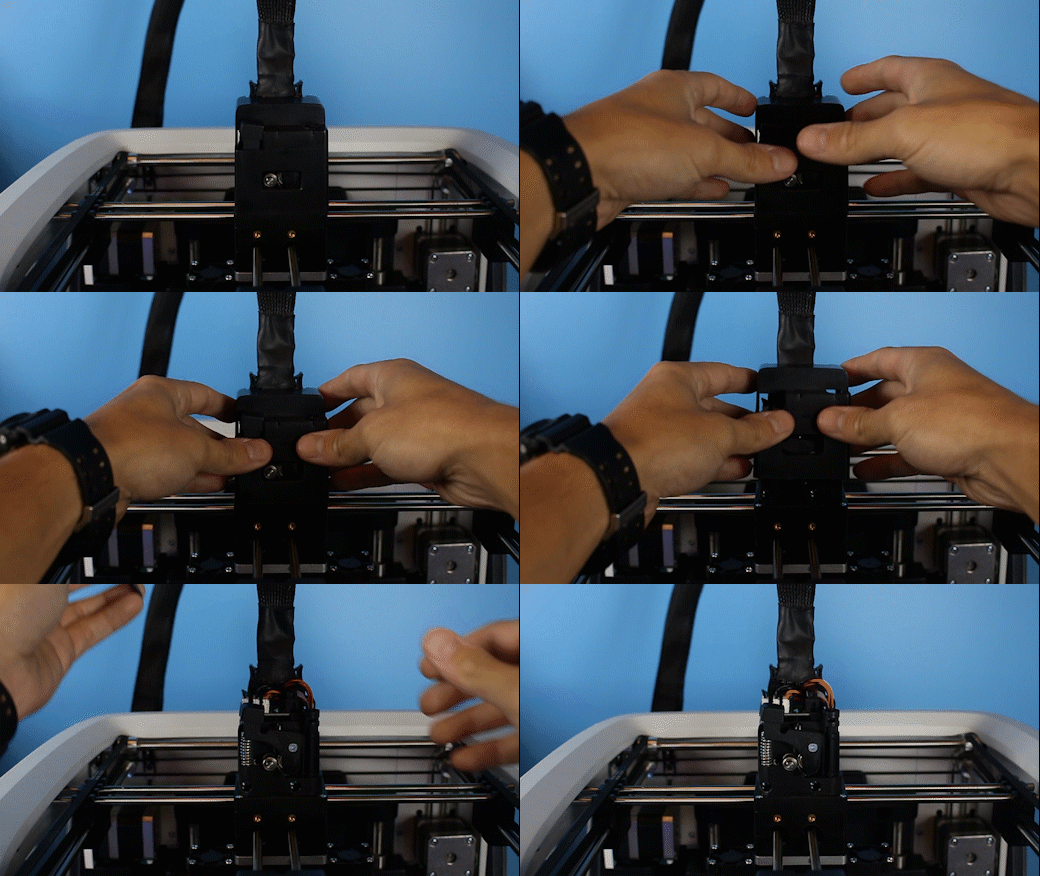
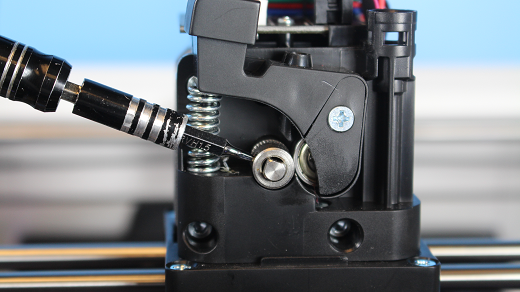
1. Remove your extruder cover.
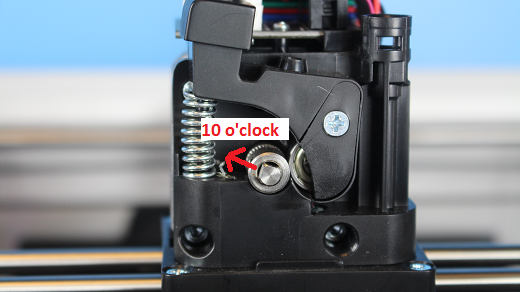
2. Turn the extruder motor shaft so that the flat surface of the shaft is pointing at 10 o’clock (see picture below).
3. Use your allen wrench to loosen the set screw on the drive gear so that it is able to freely spin on the motor shaft.
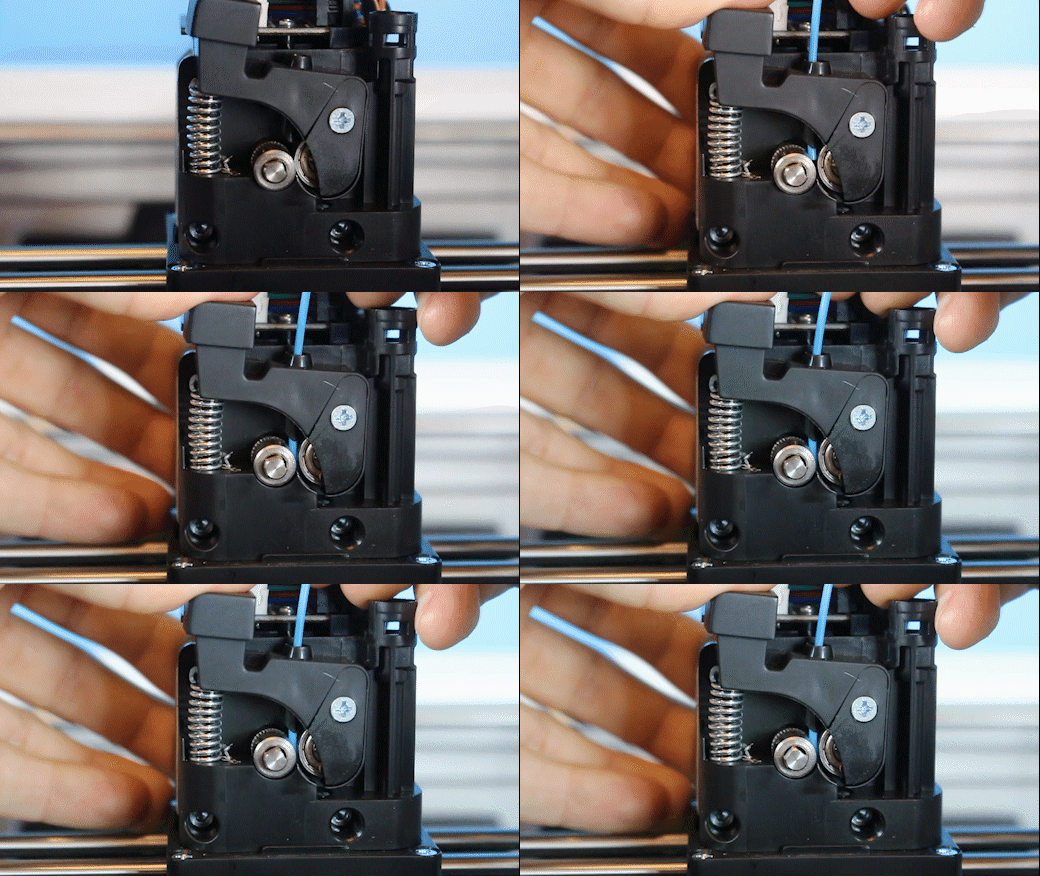
4. Now we are going to align and tighten your drive gear. Cut off a small length of filament.
5. Apply pressure to the filament lever arm and insert the filament through the filament feed hole.
6. Push and pull the filament, while making sure it is centered with the drive gears grooves, until the drive gear is in position (it will self align when the filament starts passing through it).
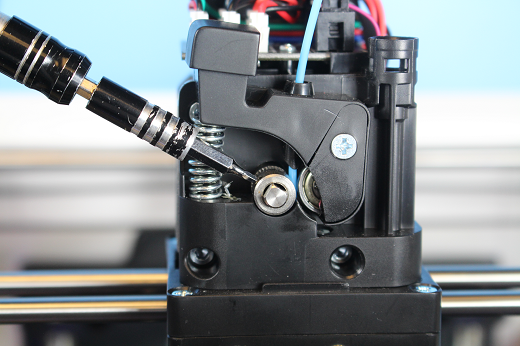
7. Align the set screw with the flat surface of the motor shaft. Visually check to make sure the groove on the drive gear is aligned with the hole going down to the hotend
8. Tighten the set screw on the flat surface of the motor shaft.
9. Replace your extruder cover and you are all set.
Comments
0 comments
Please sign in to leave a comment.